Here we will learn areas in asp.net mvc and how to use areas in asp.net mvc with a simple example. In asp.net mvc, when we partition web applications into smaller units that are referred as areas. Areas provide a way to separate a large mvc web application into smaller functional groupings.
If we have a small web application, then the default folder structure works fine to maintain the application. But if your application becomes big, it screates a problem to maintain for example, if we have a large hospital portal, then there are various sections in it, and if we use a default folder structure, it will create a mess. In this condition, we need to use Areas for separating our application. Now we will learn areas in asp.net with a simple application..
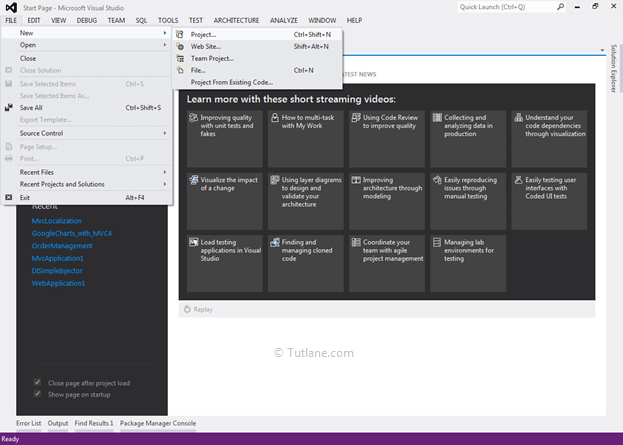
Now let’s create a basic ASP.NET MVC 4 application to understand areas in asp.net for that Open visual studio à Go to File à Select New à Select Project.
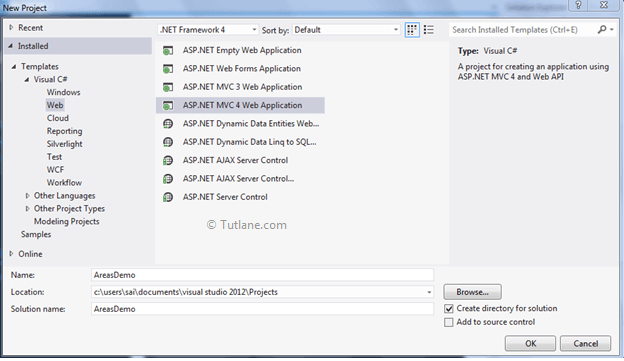
After that, you will see a new dialog will pop up for selecting your Template and Project type. From Templates, select Visual C# à inside that select Web and then project type select ASP.NET MVC 4 Web Application, and here we are giving the name as “AreasDemo” finally click on OK button.
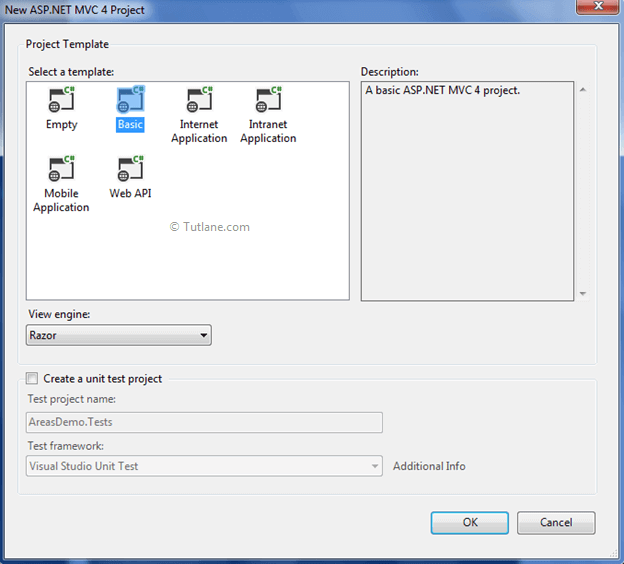
Now a new dialog will pop up for selecting a template in that Select Basic Template and click ok it like as shown below.
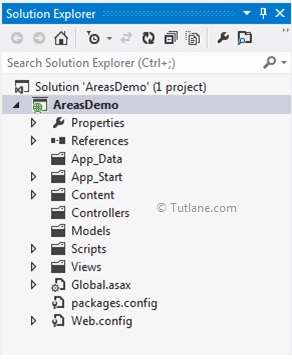
After clicking on the OK button, a simple asp.net mvc project will be created that will be like as shown below.
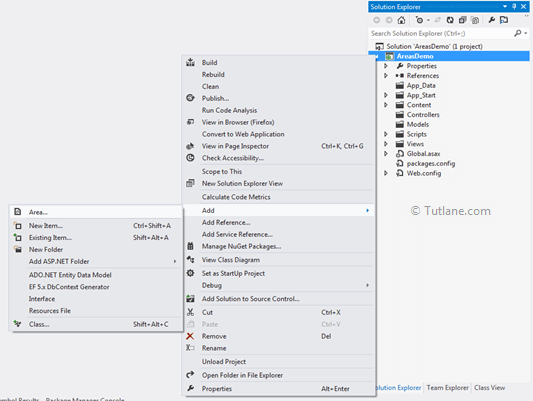
To add an Area to the MVC application, right-click on the project item within the Solution Explorer window and select Add à Area.
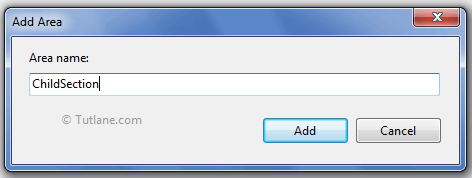
After clicking on Area, a New wizard will popup for Asking Area Name in that give name as "ChildSection" like as shown below.
Now click on the Add button the Area with Name ChildSection will create like as shown below.
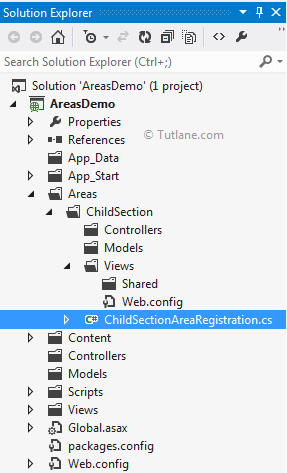
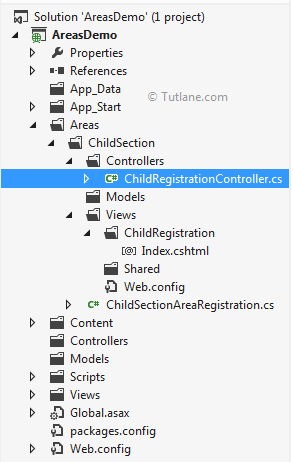
After adding, if we check our folder structure, we have an Areas folder created inside that we have another folder which contains Area with name ChildSection and all basic folder structure (Models/Views/Controllers) with A Web.config file under the Views folder. This contains the necessary entries for the RazorViewEngine to function properly.
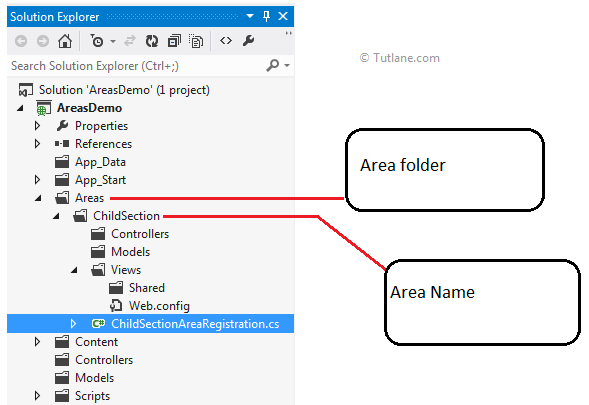
If we check the above folder structure, we have class ChildSectionAreaRegistration.cs that is created inside ChildSection Area.
We need to inform the MVC framework that we have added Area. This class is auto-generated when we add Area, we do not require to write it explicitly.
using System.Web.Mvc;
namespace AreasDemo.Areas.ChildSection
{
public class ChildSectionAreaRegistration : AreaRegistration
{
public override string AreaName
{
get
{
return"ChildSection";
}
}
public override void RegisterArea(AreaRegistrationContext context)
{
context.MapRoute(
"ChildSection_default",
"ChildSection/{controller}/{action}/{id}",
new { action = "Index", id = UrlParameter.Optional }
);
}
}
}
This ChildSectionAreaRegistration class is inheriting from Abstract class AreaRegistration, which has two methods (AreaName, RegisterArea) as abstract, which we are overriding in this ChildSectionAreaRegistration Class. The first method AreaName, contains the name of your Area ( ChildSection ) and the second method contains Routing for ChildSection Area.
In Global.asax, we need to register all Areas in the Application_Start event handler by adding the below code.
AreaRegistration.RegisterAllAreas();
Here RegisterAllAreas() Method is a static method. and this RegisterAllAreas() method will call all RegisterArea() methods of all Areas found in the application. Once we add the above code in Global.asax Application_Start event that will be like as shown below.
using System;
using System.Collections.Generic;
using System.Linq;
using System.Web;
using System.Web.Http;
using System.Web.Mvc;
using System.Web.Optimization;
using System.Web.Routing;
namespace AreasDemo
{
// Note: For instructions on enabling IIS6 or IIS7 classic mode,
// visit http://go.microsoft.com/?LinkId=9394801
public class MvcApplication : System.Web.HttpApplication
{
protected void Application_Start()
{
AreaRegistration.RegisterAllAreas();
WebApiConfig.Register(GlobalConfiguration.Configuration);
FilterConfig.RegisterGlobalFilters(GlobalFilters.Filters);
RouteConfig.RegisterRoutes(RouteTable.Routes);
BundleConfig.RegisterBundles(BundleTable.Bundles);
}
}
}
After completing the registering Area now, let's add Controller and View in this Area and check how it works.
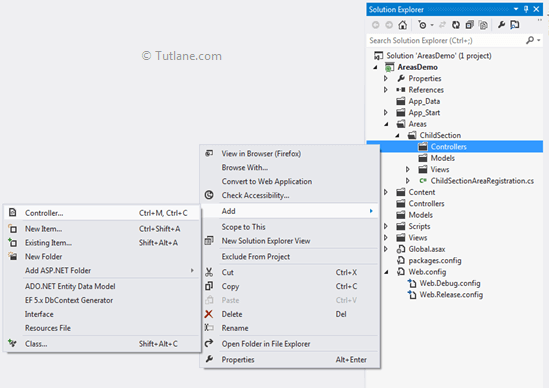
To add controller, Right click on Controller folder inside that select Add and then select Controller.
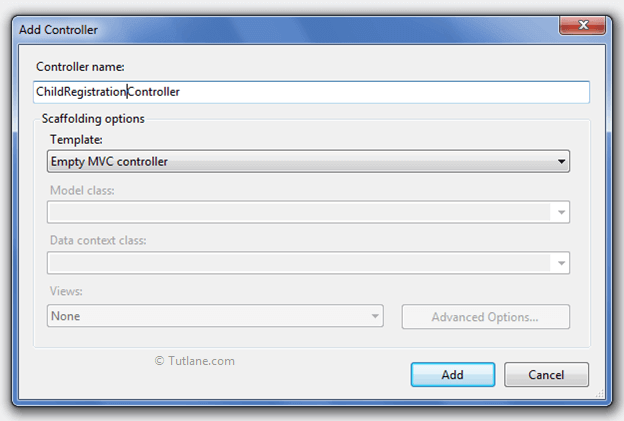
After clicking on controller, new dialog will popup with the name Add Controller in that give the name to the controller and select template as "Empty MVC Controller" and click on the Add button.
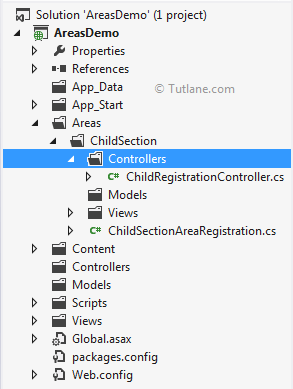
After adding a new controller, our project will be like as shown below.
Our controller will contain code like as shown below.
using System;
using System.Collections.Generic;
using System.Linq;
using System.Web;
using System.Web.Mvc;
namespace AreasDemo.Areas.ChildSection.Controllers
{
public class ChildRegistrationController : Controller
{
//
// GET: /ChildSection/ChildRegistration/
public ActionResult Index()
{
return View();
}
}
}
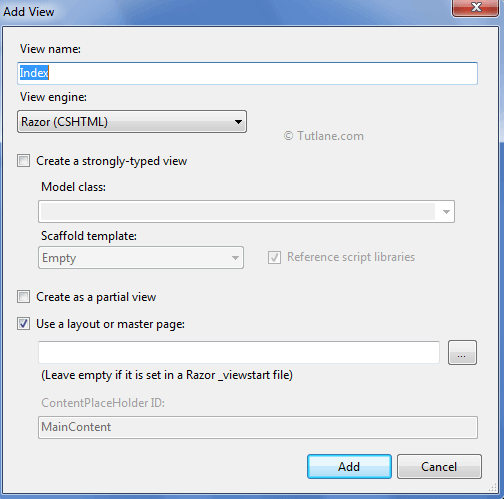
Tp add View, right-click inside Index ActionResult Method and Select "Add View" to create the view template for our Index form. Now new popup "Add View" will open in that give the view name as "Index" and click the Add button (Here we are not changing any option in the wizard) like as shown.
After adding view, our project structure will be like as shown below.
Now run your application and see the output.
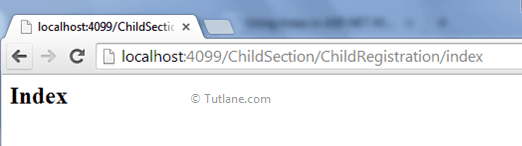
To access URL, you need to enter the Area Name first, then the Controller Name, and lastly Action name.
Our URL will be like as http://localhost:4099/ChildSection/ChildRegistration/Index, and our output will be like as shown below.
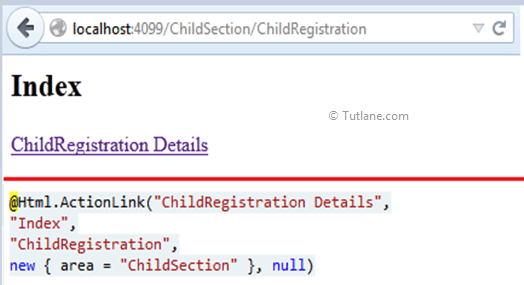
 Here we will see how to create links with areas in our view. We need to write an action link with the area after controller name add New { area= “Area Name”} like as shown below.
@Html.ActionLink("ChildRegistration Details", "Index", "ChildRegistration", new { area = "ChildSection" }, null)
Our output will be like as shown below.