In asp.net mvc Model First approach in entity framework is used to create Entities, relationships, and inheritance hierarchies directly on the design surface of EDMX, and it will generate a database from it. We will learn the entity framework model first approach with a simple example in asp.net mvc.
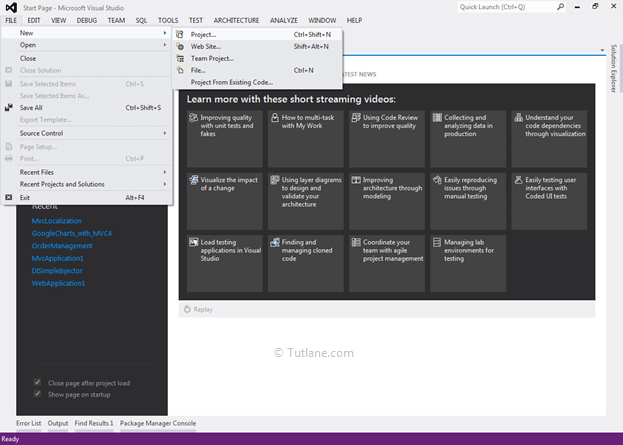
Let's start with creating a new asp.net mvc 4 application for that Open visual studio à Go to File àSelect New àSelect Project.
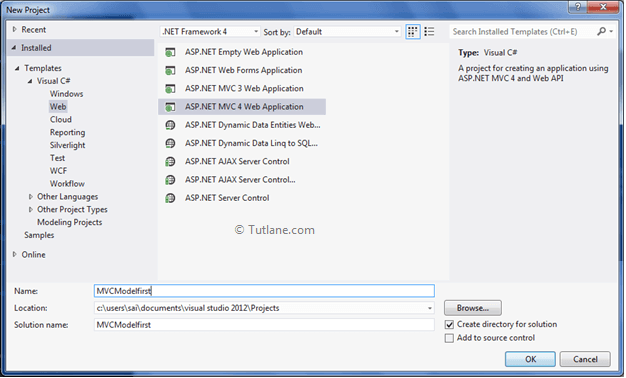
After that, you will see a new dialog for selecting your Template and Project type. From Templates, select Visual C# àinside that select Web and then project type select ASP.NET MVC 4 Web Application, and here we are giving the name as “MVCmodelfirst” then finally click on ok button.
After naming it, click on OK now new dialog will pop up for selecting a template in that Select Empty template and click ok like as shown below.

After completion of creating the application, we will add ADO.NET entity Model.
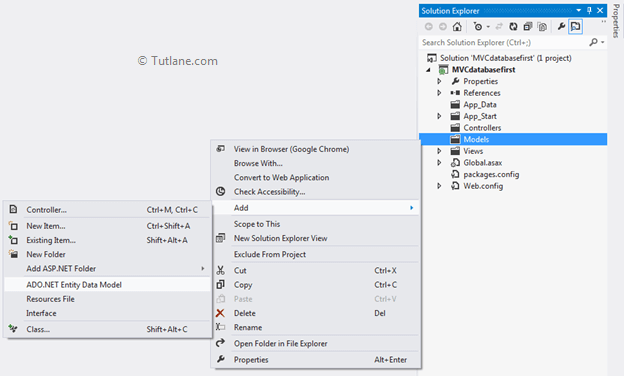
For adding ADO.NET Entity Data Model, right-click on Model folder and select Add inside that Select ADO.NET Entity Data Model.
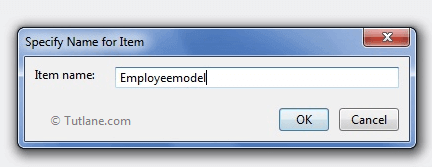
After clicking on ADO.NET Entity Data Model, a New Dialog will pop up for entering Item name inside that you can enter any name, but it must be unique and click on the OK button like as shown below.
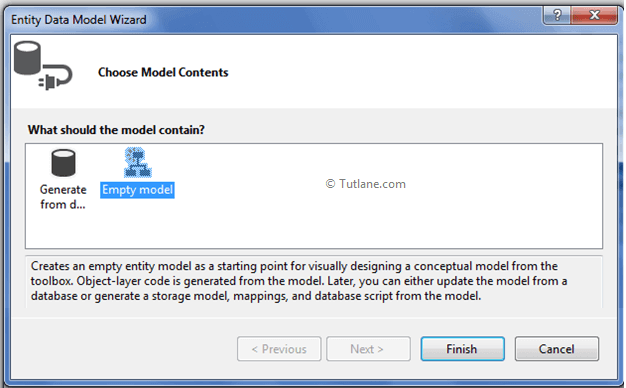
After that, a new Wizard will popup from that we need to select the second option, Empty model, and click on the Finish button like as shown below.
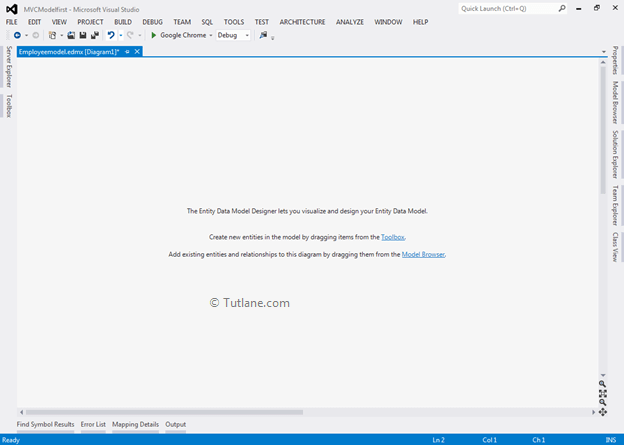
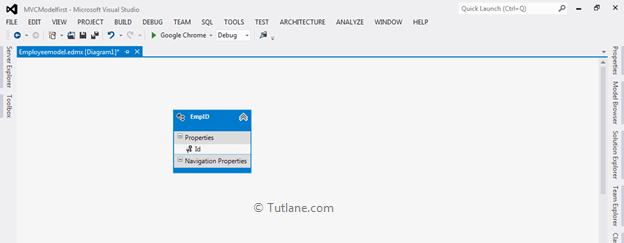
After adding our designer interface like the below image.
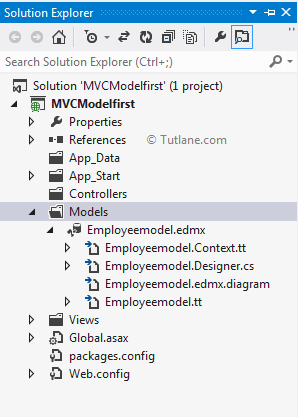
And our project view will be like as below image.
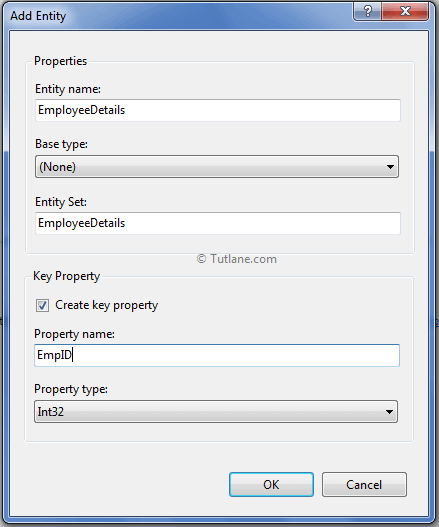
For adding Entity, right-click inside the Entity Data Model Designer. A new dialog will pop up in that fill properties like as shown below.
Entity name: Add the name of the table which you want to create
Base type: None
Entity set: nothing to change here
Key Property (Primary key) Property name: EmpID
Property type: Int32
After adding, you will find your Entity as below image.
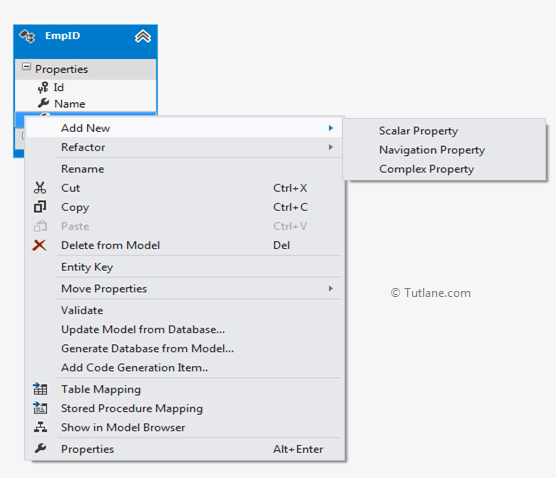
For adding more property, right-click inside Entity àSelect Add new option à Inside that select Scalar property like as shown below.
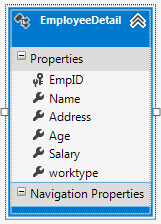
Here is the complete Entity which we created.
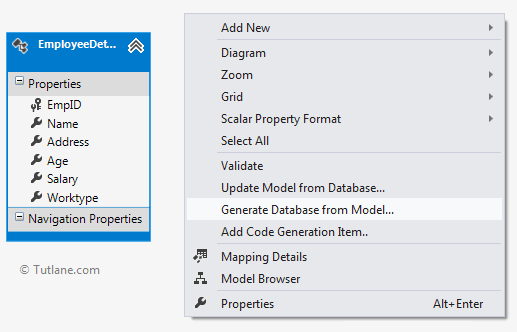
Now we need to generate a database from the above Entity. For that, right-click inside the Entity Data Model Designer and select Generate Database from Model like as shown below.
After clicking on Generate Database from Model, a new Wizard will popup.
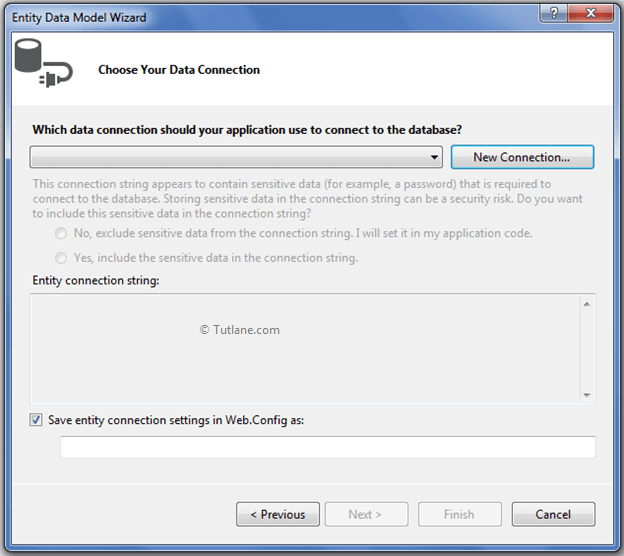
Now click on New Connection for configuring the Connection string. After clicking New Connection, a new dialog will pop up to enter all SQL server details.
And in place of Database, enter the name of the database you want to create (“MvcModelFirst”) and finally click on the ok button. A new dialog will pop up for Permission to create a Database. From that click, yes.

After clicking yes, a new wizard will pop up with the Connection string which you have entered. In this select Yes, Include sensitive data in the connection string and finally select Next Button.
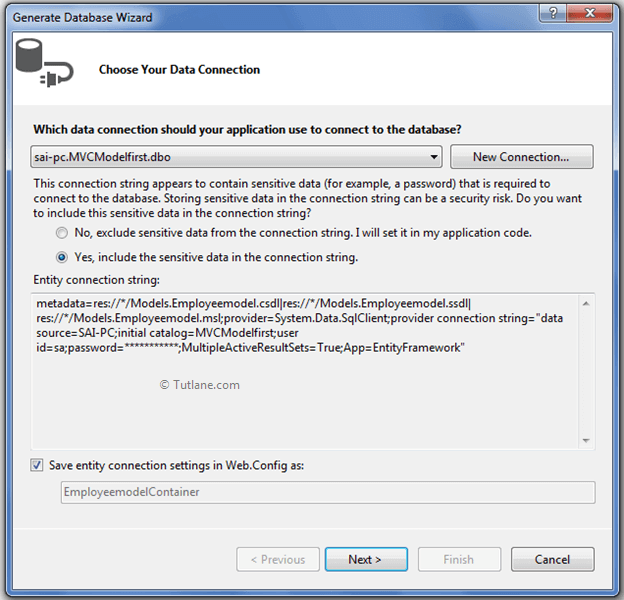
After clicking on the Next button, a new wizard will pop up with the name Generate Database wizard.

Finally, click on the Finish button. After adding, your project view will look as below image.
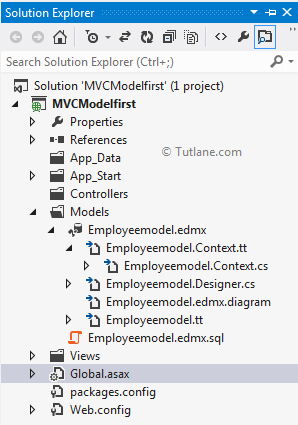
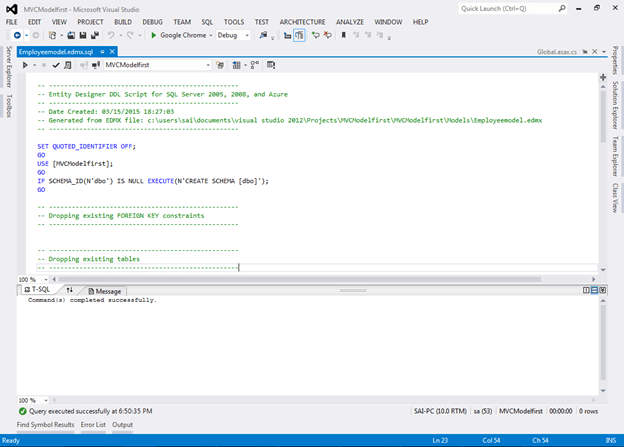
Inside Employeemodel.edmx, you will find the Employeemodel.edmx.sql file. Open that file and right-click inside it, and select Execute.

After clicking on Execute it will open your SQL server login dialog.
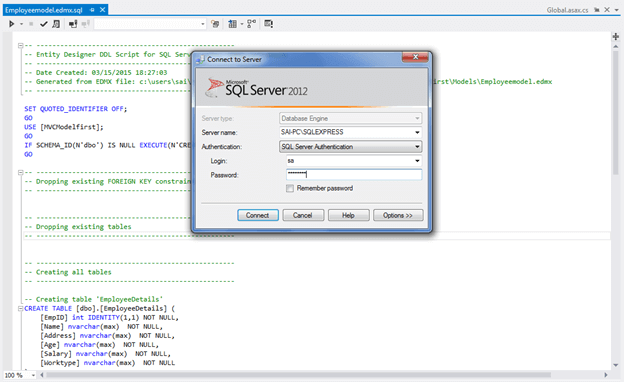
Enter your valid credentials of the SQL server. It will execute your script.
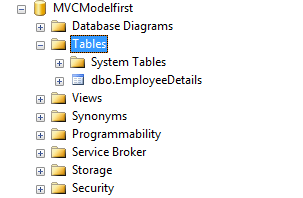
Finally, it has created a Database and Related table for you.
This way, we can use the entity framework model first approach in asp.net mvc application.