We will learn how to publish/deploy asp.net mvc web application directly to the server using FTP (file transfer protocol) in visual studio or use file transfer protocol / FTP option in visual studio to deploy/publish asp.net mvc web application in server with example.
In visual studio 2010 or more, we have different options to publish/deploy websites directly from the visual studio: web deploy, web deploy package, file transfer protocol (FTP), etc.
If we use FTP (File Transfer Protocol) to publish web applications, we need to enter all credentials provided by the FTP hosting company, and application files will upload directly to our FTP hosting space.
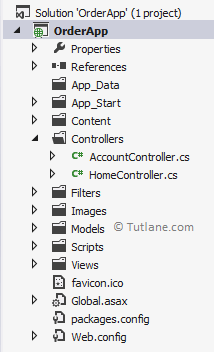
Here we will learn the step-by-step process to deploy or publish asp.net mvc web application using FTP (File Transfer Protocol) option in visual studio. To publish and deploy applications here, we will use a simple Internet Application that we already created for deployment with the name [OrderApp] like as shown below.
Now let’s build this application and run. Following is the snapshot after running the application.
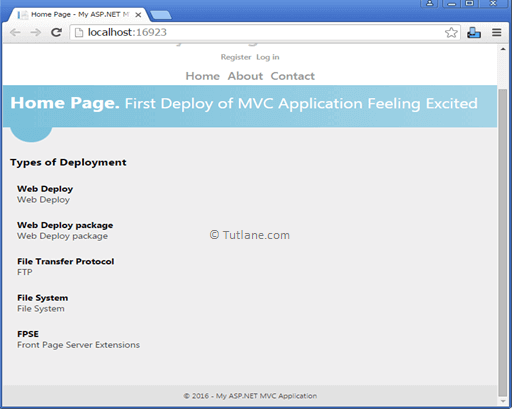
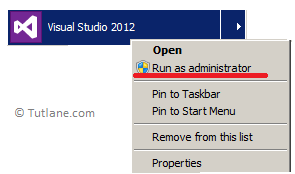
It is working fine. Now we have checked our application, and it's working fine, let’s publish this Application. Before starting to publish our Application run Visual Studio as Administrator like as shown below.
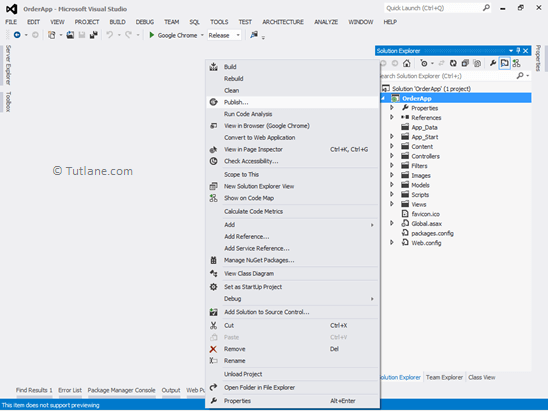
To publish an application, right-click on Project name [OrderApp], and a list of options will appear from that List select [Publish] options like as shown below.
After selecting the Publish option, a new dialog will pop up with the name Publish Web, as shown below.
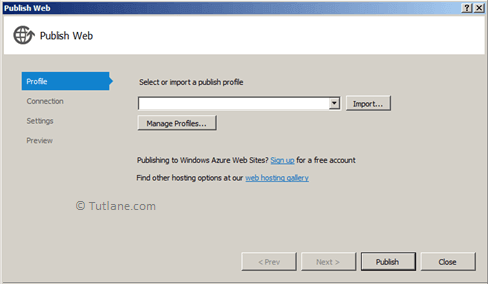
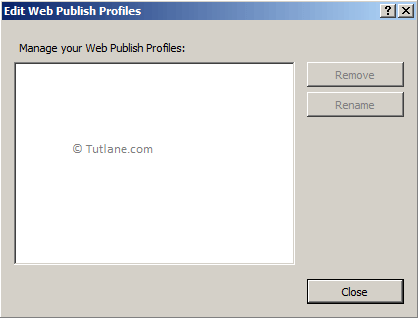
In this dialog, it will first ask you to create a profile. If you have created a profile already, you can select a profile from the Manage profile. Just click on the Manage Profile button a new small dialog box of Edit Web Publish Profiles will appear to see your already created Profile.
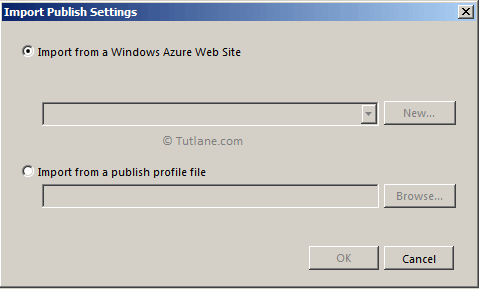
If you had proper look at the Publish Web dialog box, you would also find the Import button. After clicking on the Import button below, a dialog will appear in this dialog you can import from Azure Website or from Publish profile file.
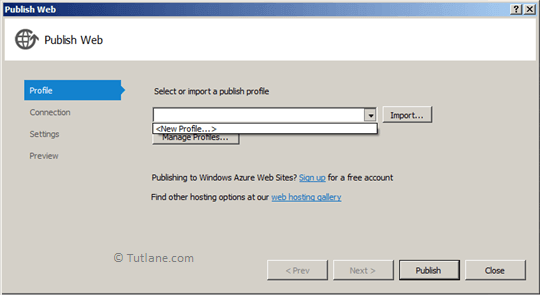
We are new to publish this application; hence we are going to create a New Profile.
To create a New Profile, select [Select or Import a publish profile] dropdown after selecting a [New Profile] item will appear in the dropdown list just select that.
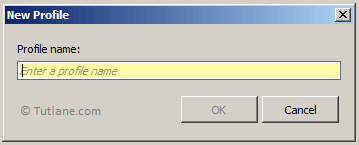
After selecting a New Profile, a new dialog box will appear with the name [New Profile] asking to enter a Profile name.
Here we entered the profile name as [OrderApp_FTP]. You can enter the profile name of your choice.
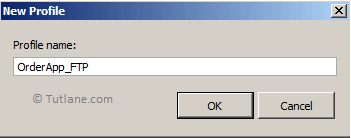
After entering the profile name, click on the OK button; this process will move forward to the next stage Connection setting.
Now we will select a way to publish our application. We need to move to the second step connection, and in the Publish method, we need to select "FTP".
To use "FTP" for publishing a website we need to enter credentials of FTP provided by FTP hosting space like as shown below.
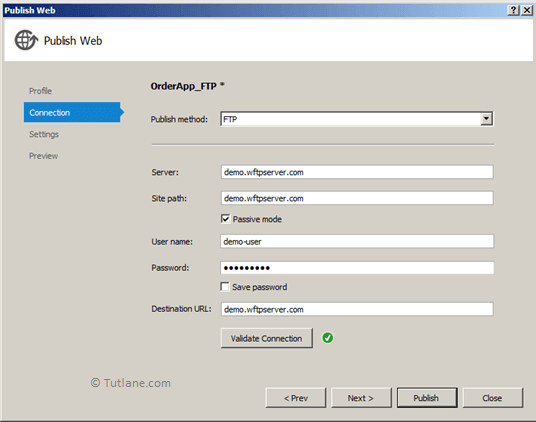
After entering all the details, click on the Next button to Move Forward to the next deployment process stage.
In this process, it will ask for selecting Configuration. We have 2 options for this.
Here we are going to select Release mode.
File Publish options section
After Selecting Configuration, we have File Publish options those like as shown below.
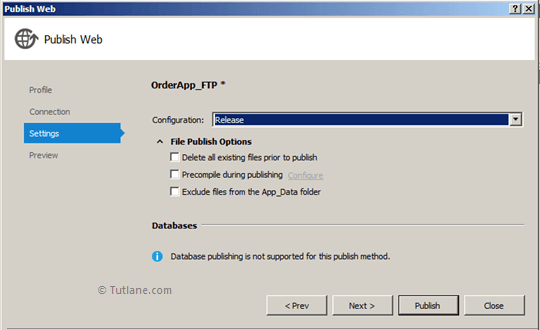
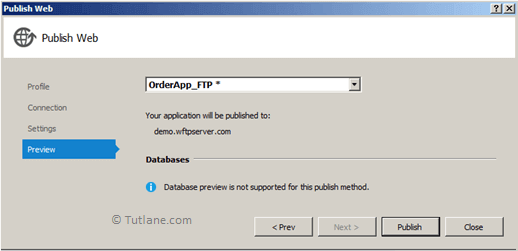
This FTP publish method does not support Database publishing. After setting Configuration, Click on the Next button to Move Forward to the next deployment process stage.
In this preview, we will not get a chance to view files published using the FTP method. Following is the snapshot of the preview dialog window.
After clicking on the Publish button, this site will be published to the FTP hosting space we have provided.
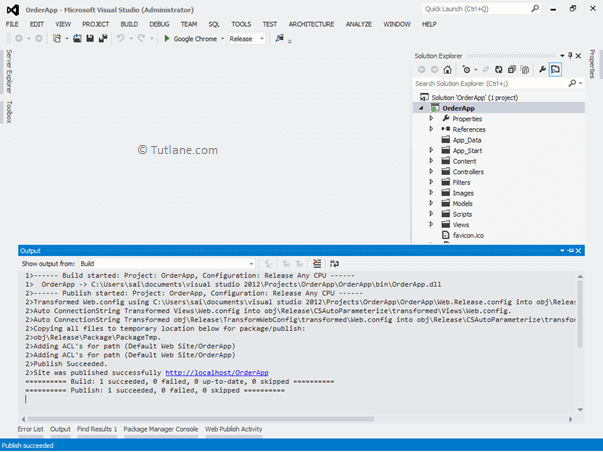
After completion of publishing, you can check your location on FTP, where you have uploaded files. Finally, we have completed publishing the application Using FTP.