Here we will learn what is Oauth, and with this, we will see an example of how to implement the OAuth service provided by Facebook in ASP.NET MVC. Most web applications nowadays provide an Oauth login to access their application. Generally, Oauth is an open standard for authentication and authorization.
Nowadays, many e-commerce sites to buy one product with a low price to register and remember Email ID and the Password of all those sites will be headaches because there is a solution known as Oauth.
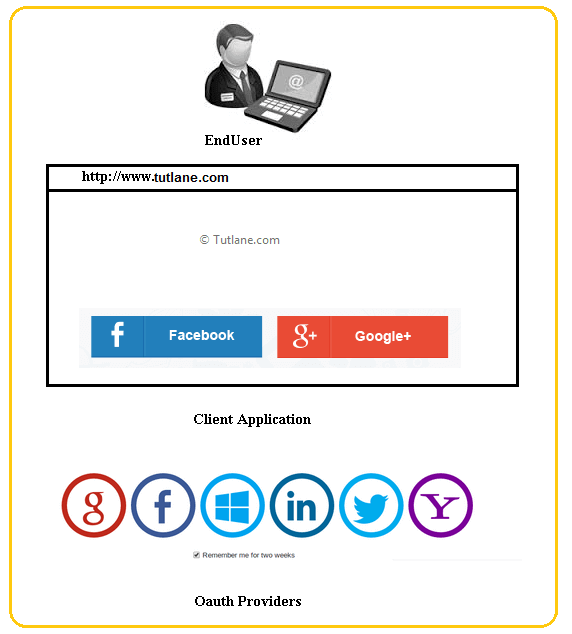
If we check any e-commerce portals, they have Google, Facebook, and Twitter buttons on the login page. If we click on the Facebook button, it will take us to the Facebook portal to login with our Facebook credentials. It will ask for access to public profile and EmailID information (Your public profile includes name, profile picture, age range, gender, language, country, and other public info). When we click on the okay button, we will register and automatically log in to the Ecommerce application.
In the above example, the client application will be (Flipkart, snapdeal, amazon, Jabong), and Oauth providers will be (Google, Facebook, Twitter, LinkedIn, Microsoft, and Yahoo). In asp.net mvc 4 have inbuilt features of Oauth. Now let's explorer Oauth step by step, starting from creating Application in asp.net mvc.
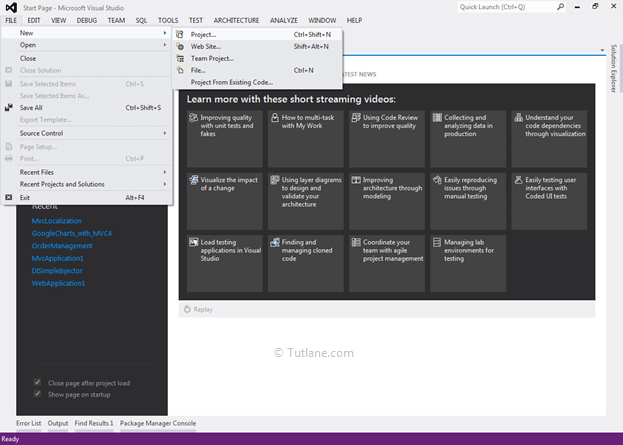
Let's start with creating a new asp.net mvc 4 application for that Open visual studio à Go to File à Select New à Select Project.
After that, you will see a new dialog for selecting your Template and Project type. From Templates, select Visual C# à inside that select Web and then project type select ASP.NET MVC 4 Web Application, and here we are giving the name as “Tutorial12” finally click on OK button.

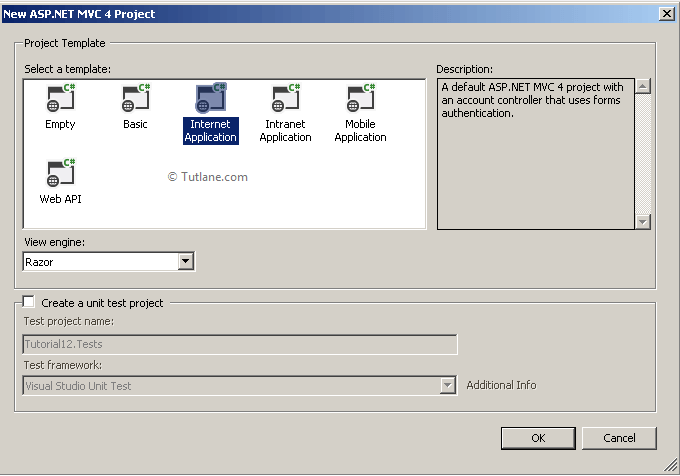
After naming and clicking on the OK button, a new dialog will pop up for selecting a template in that Select Internet Application template and set the view engine as Razor. We will not create Unit testing for this project; hence, do not check this option and finally click OK like as shown below.
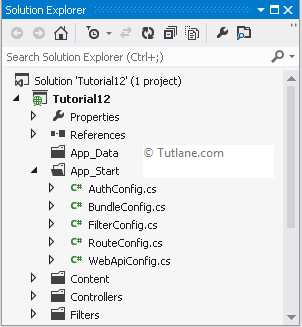
After click on the OK button, wait for some time to configure the solution for you. After creating the project, our project will be ready, and it contains a lot of MVC folder structure and other script and .css style like as shown below.

After successfully creating applications, now let’s move towards creating Database.
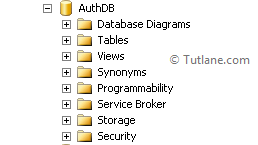
Now, create a SQL Server database with any name here we are naming it “AuthDB”.
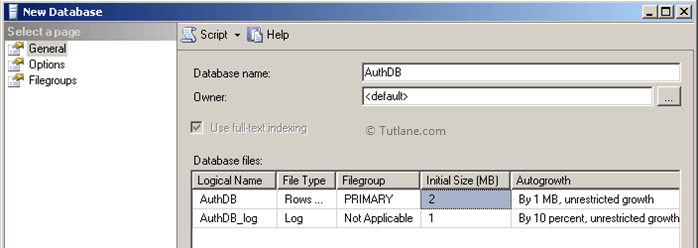
After creating the database, that will be as shown below.
After creating a Database with the name “AuthDB”, let's add a connection string to the project.
<connectionStrings>
<add name="DefaultConnection" connectionString="Data Source=sai-pc;Database=AuthDB;UID=sa;Password=Pass$123" providerName="System.Data.SqlClient" />
</connectionStrings>
After adding the connection string now, let's add Membership tables to the AuthDB database. Before that, let’s look at the model (AccountModels), and it's located in Models Folder, which is created Default if you are choosing Internet Application Template that will be like as shown below.

AccountModels file will contain code like as shown below.

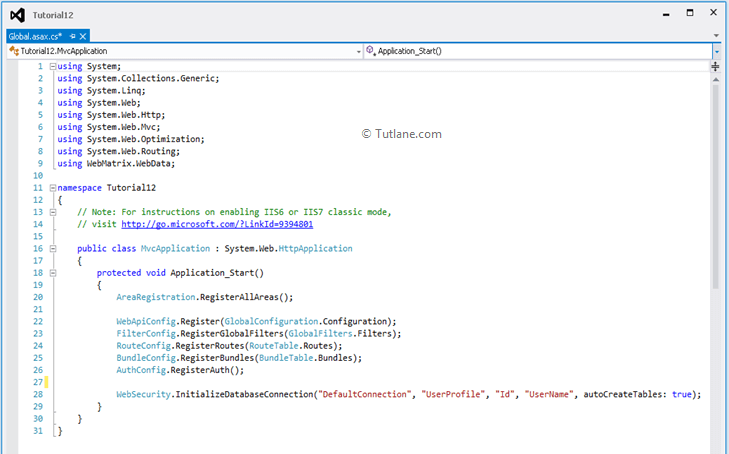
Here we are going to Use the Code First Approach of Entity Framework. To add Membership tables to the database, we need to add a single line of the following code in Global.asax.
WebSecurity.InitializeDatabaseConnection("DefaultConnection", "UserProfile", "Id", "UserName", autoCreateTables: true);
The above line will create all Membership tables, and we need to provide parameters like as shown above. Following is a brief description of the InitializeDatabaseConnection method.
InitializeDatabaseConnection Method Metadata
public static void InitializeDatabaseConnection (string connectionStringName, string userTableName, string userIdColumn, string userNameColumn, bool autoCreateTables);
Parameters
The following are the parameters we used the Intializedatabaseconneciton method.
Once we add our database connection in our Global.asax file, that will be shown below.
After completion of all configurations, let’s run the application and check. After running the application, you will find the Default homepage on that page at the right corner. You will find the register link, click on it, and wait for a Register page to pop up as shown below.

If you are getting error in creating membership tables, remove the [InitializeSimpleMembership] attribute from AccountController.
[Authorize]
[InitializeSimpleMembership]
public class AccountController : Controller
{
}
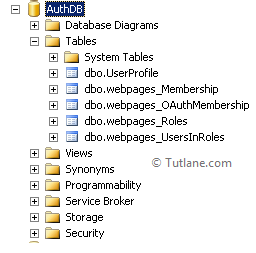
After opening the Register page, verify the database we created “AuthDB” expand the database. Inside the tables section, we can see all membership tables.
Now we completed the database part. Let's modify the AuthConfig file to enable the Oauth Facebook login.
Oauth( AuthConfig.cs) file is created by default when we create an application, and it is located inside the App_Start folder with Name AuthConfig.cs like as shown below.
Let’s view the AuthConfig.cs file and see what it contains.
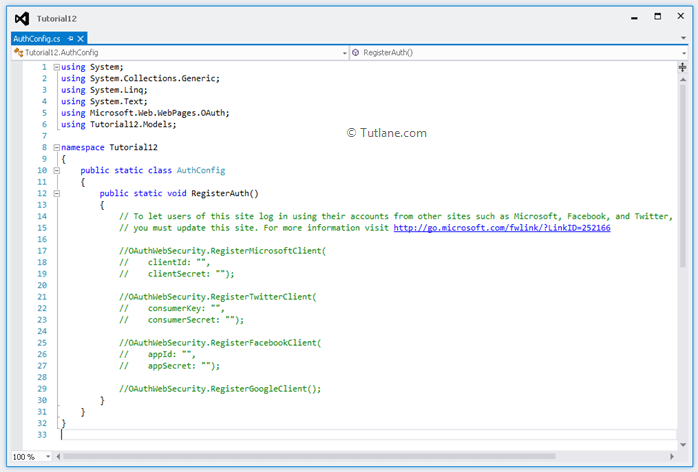
The AuthConfig.cs files contain all OAuth Clients comments by default. We will implement an example of OAuth with Facebook for that, we need to uncomment the Facebook client first.

Now you can run the application, but it will throw an error because we have not provided ( appId: "", appSecret: "" ). For this, we first need to Register an Application with Facebook.
Before proceeding with the next step, you must have a Facebook account to register your application on Facebook. If you have, login; else, create a new account, then login. After logging into your account, paste this Url in the browser: "http://developers.facebook.com/" to register your site. After opening the developer site next step is to select “My Apps” as shown in the below snapshot.

After clicking on the “My Apps” menu Apps page will open with the “Create a New App” button, as shown below.

After clicking on the “My Apps”, you will see a new page with a button “Create a New App” click on that button. After that, a popup will open with the Name “Create a New App ID”. In that, fill all options, the Display Name will be your App Name here, we are entering OauthDemo, and Namespace is not mandatory. We are leaving that option empty in the category I will select Education and then finally click on the “Create App ID” button.

After clicking on the “Create App ID” button, we will have a security check like as shown below.
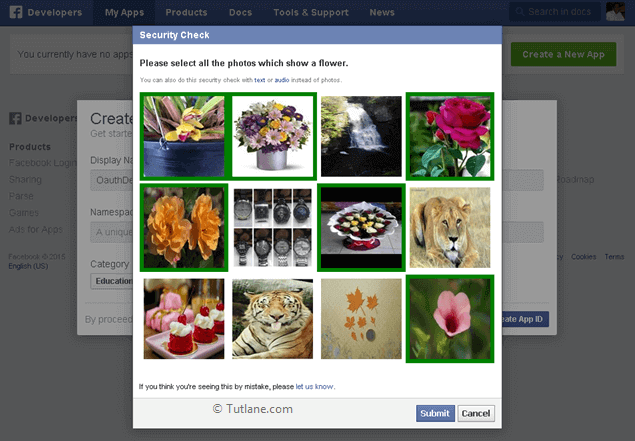
After passing the security check, your app is created, and you will be redirected to the dashboard page. On the dashboard page, you will get your ( appId: "", appSecret: "" ) details to use for the Facebook Oauth service. The following snapshot shows where you will see ( appId: "", appSecret: "" ) on the dashboard page.
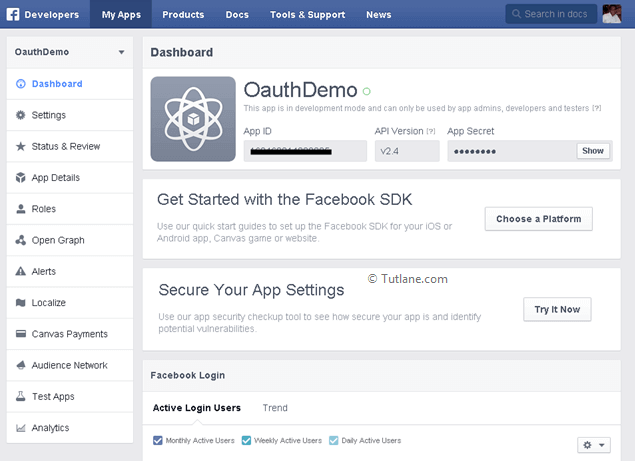
After that, we need to set our App Domains. For setting this first, we need to click on setting just below the Dashboard. We will see the +Add Platform button click on it. A new dialog will open to select Platform inside that we are going to select the Website.

After selecting the add platform, a small panel will pop up and ask for the Site URL. Here, you will be adding your project URL like "http://localhost:2222/". To see where the project URL is, right-click on Project, select Properties like as shown below.

After selecting Properties, a new window will open inside that select Web Menu just below Build at the bottom of the page. You will see Project URL, highlighted in yellow here project URL like "http://localhost:2222/". Just copy that URL.

After copying, paste that URL inside Site URL (http://localhost:2222/) and then click on the save changes button.

After that, copy App ID and App Secret and add in AuthConfig.cs files.

After adding, save your application, Run the application. Following is our login page after adding oAuth Facebook login in asp.net mvc application.

After running the application, you will see the Facebook button on the login page's right part. Now click on the Facebook button. It will take you to the Facebook login page here. You enter Facebook credentials and login to Facebook.

After logging into Facebook, a new dialog will pop up to allow App to access your profile information (Your public profile includes name, profile picture, age range, gender, language, country, and other general info). Now click on the Okay button to proceed further.
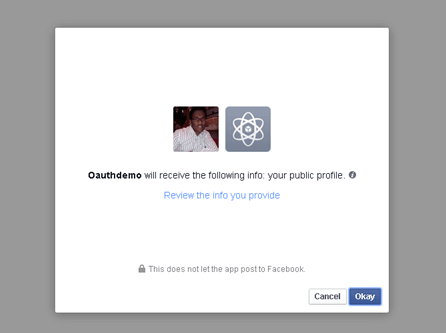
After clicking on the okay button, it will redirect to the ExternalLoginCallback view. You will see Username textbox, which contains Username (Saineshwar Bageri) that we have got from the Facebook Oauth service. We didn't write any code, just configured it using oAuth service in asp.net mvc.

After getting on ExternalLoginCallback view and Username filled in the textbox, click on the Register button and log in to the application. Following is the snapshot that shows you are logged in to your application.
Now let's check out where this data is added in (AuthDB) database tables.

The user name is successfully saved in the UserProfile table, and the second table, which we will look upon, is the webpages_OAuthMembership table.
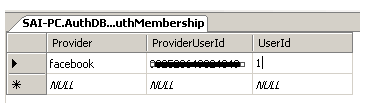
In this table, the data of the Oauth provider is stored, and it is saved successfully. If you want more information from Facebook related to User, you need to install API from the Nuget package solution.

Finally, we understood what Oauth is and how to use it with asp.net mvc application and had an example of Oauth integration with Facebook.