Here we are going to work ADO.NET Entity Framework in asp.net mvc to perform CRUD operation on data in applications. For accessing data we are going to use Database first approach of entity framework . Let’s start with creating Basic mvc application and naming it as Tutorial7.
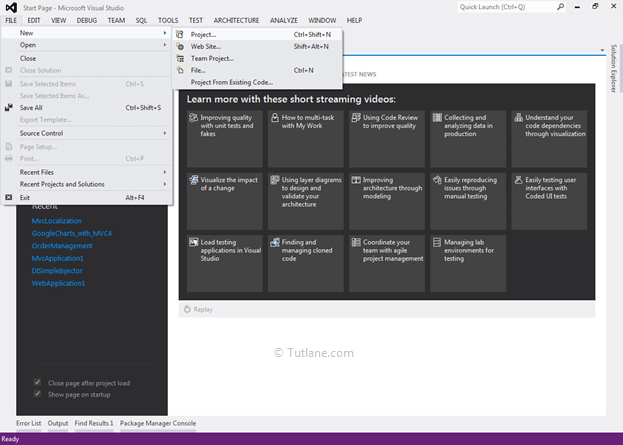
Open visual studio studio à Go to File à Select New à Select Project like as shown below
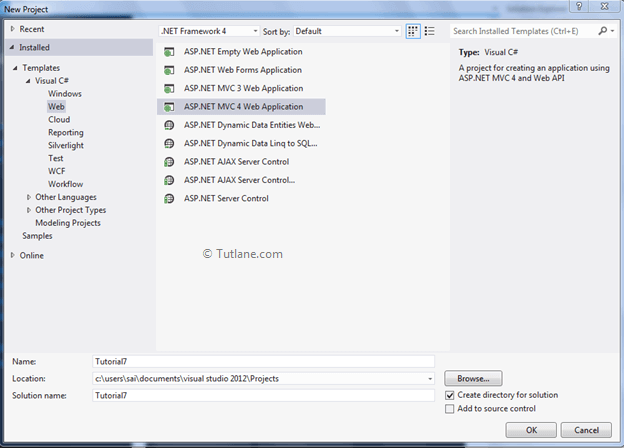
After that you will see new dialog will pop up for selecting your Template and Project type. From Templates select Visual C# à inside that select Web and then project type select ASP.NET MVC 4 Web Application and here we are giving name as “Tutorial7” then finally click on ok button
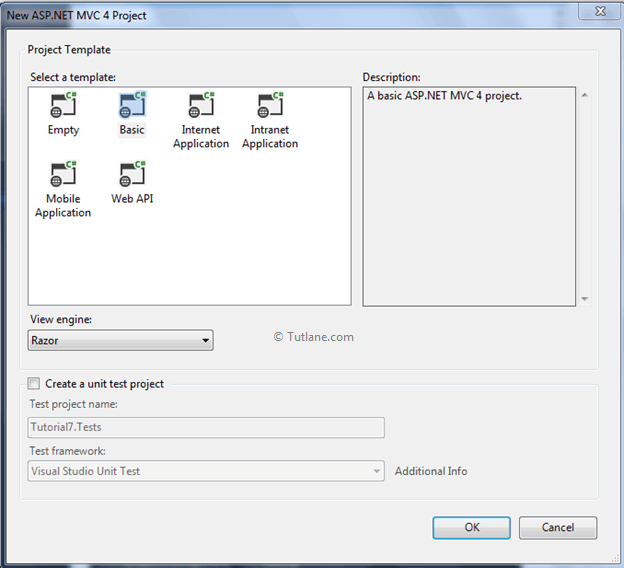
After naming it just click on OK now new dialog will pop up for selecting template in that Select Empty template and click ok like as shown below
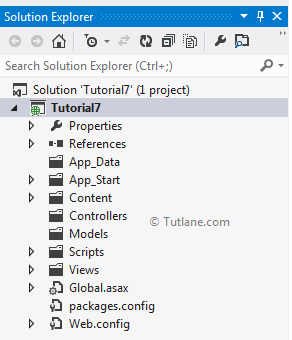
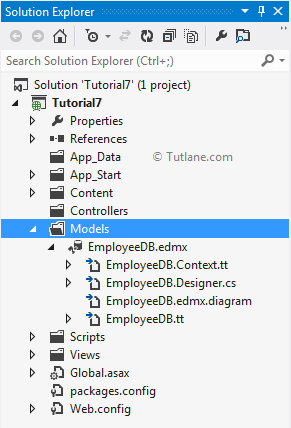
After creating application our project structure like as shown below
We have completed with Creating Application now we are going to add Entity framework in your application
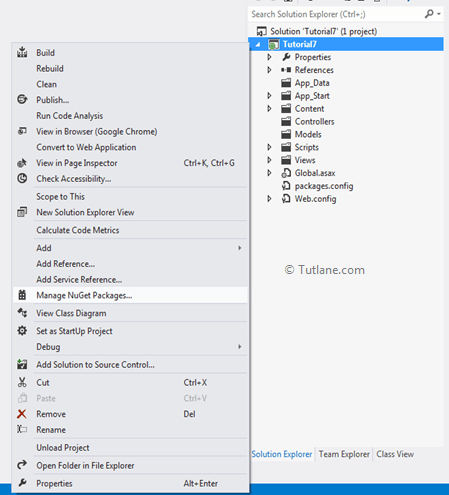
For adding Entity framework just right click on your application and from above list select “Manage NuGet Packages” like as shown below
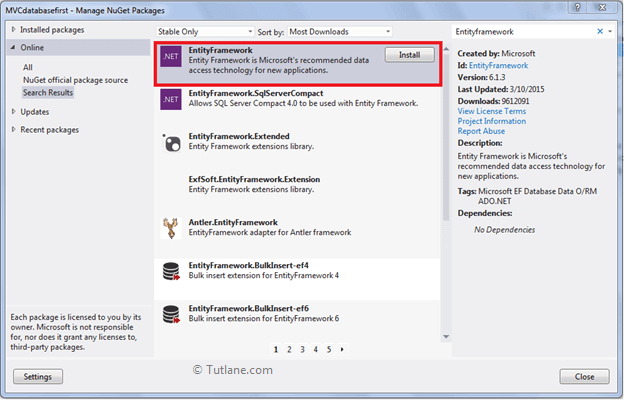
After select a new dialog will popup of “Manage NuGet Packages” Inside search box enter “EntityFramework”. After getting search value select EntityFramework click on install button
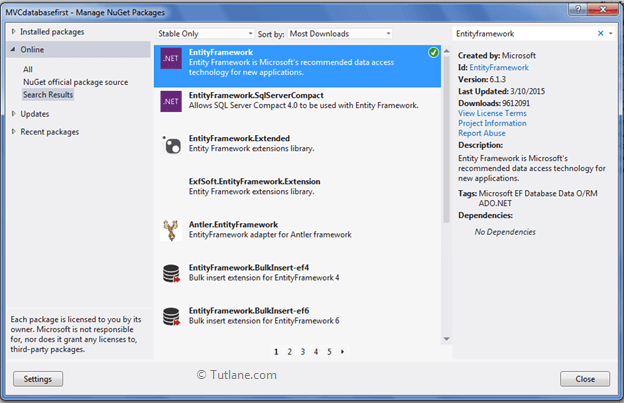
After adding it will show an ok sign in green color
After adding Entity framework now we are going to add ADO.NET Entity Data Model
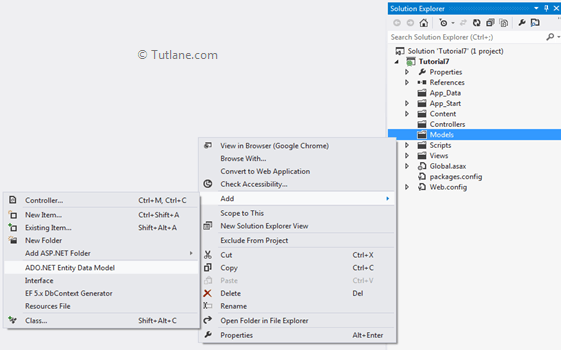
For ADO.NET Entity Data Model just right click on Model folder and select Add inside that Select ADO.NET Entity Data Model to our solution
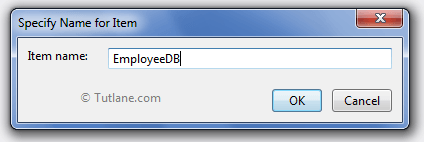
After that a small dialog will popup for asking ADO.NET Entity Data Model Name I will name it as EmployeeDB
After that a new Wizard will popup where we are going configure Entity Data Model. In this we are going to use Database first.
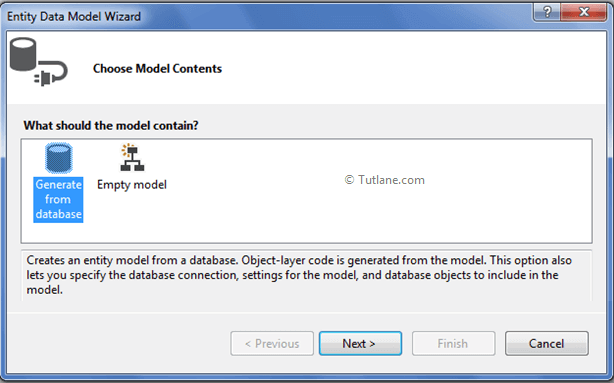
From that select Generate from database and click on Next button. After clicking on Next button a New Wizard will popup for Choosing Data Connection.
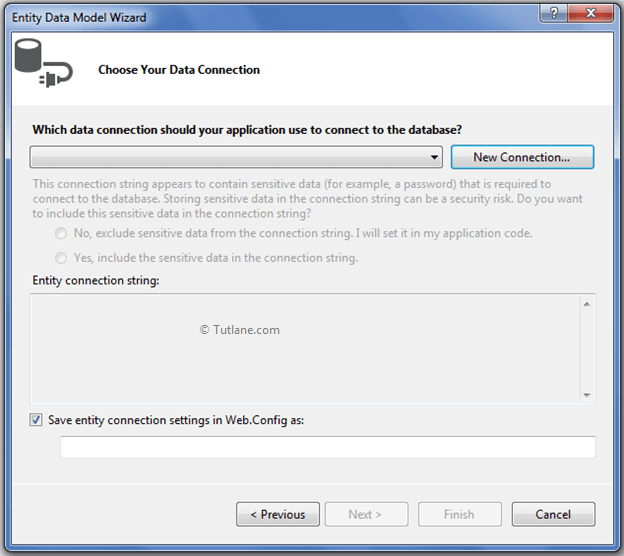
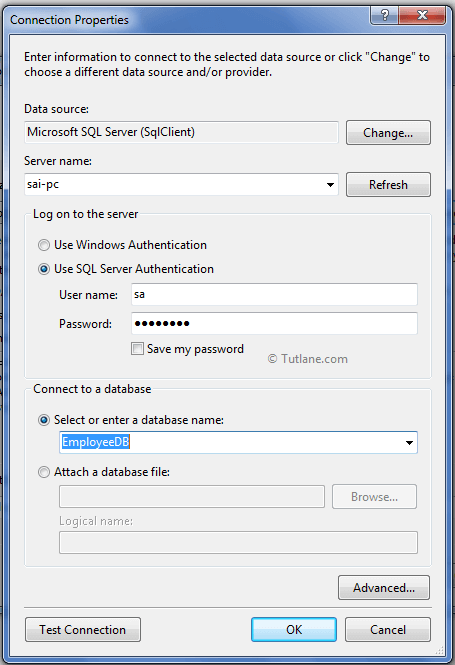
Now click on New Connection a new Dialog will popup. Here we need to configure it. In Server name you need to add your Sql Server Name and select either Using Windows Authentication or Using Sql Server Authentication to connect SQL Server. Here we selected Using Sql Server Authentication and entered User name and Password of Sql server. Last we are going to select Database Name EmployeeDB once we done click on OK button as shown below
After adding database connection our Entity Data Model Wizard will look like below snapshot
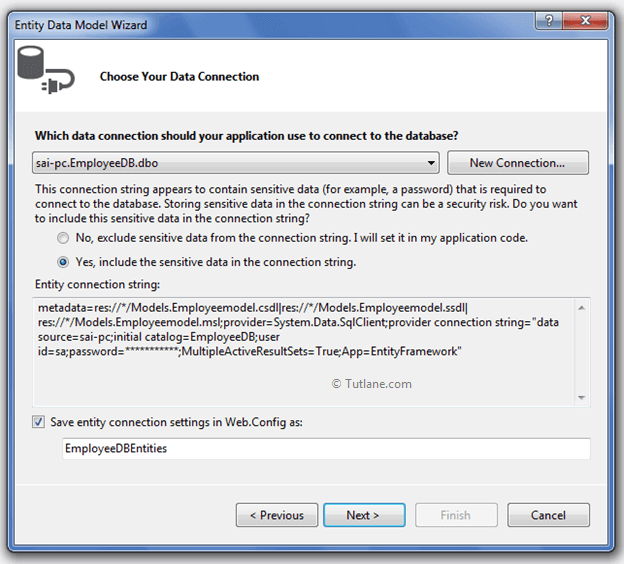
Now click on Next button. A new wizard will pop up for selecting database object and in this you will see all the table which we have created in database
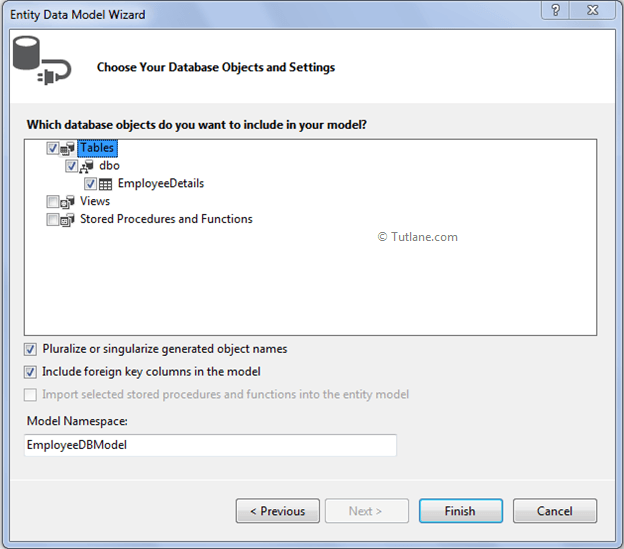
Final clicking on Finish button. After adding ADO.NET Entity Data Model
following connection string is generated after adding entity framework
<connectionStrings>
<add name="EmployeeDBEntities"
connectionString="metadata=res://*/Models.EmployeeDB.csdl|res://*/Models.EmployeeDB.ssdl|res://*/Models.EmployeeDB.msl; provider=System.Data.SqlClient; provider connection string=" data source=sai-pc;initial catalog=EmployeeDB; user id=sa; password=#######; MultipleActiveResultSets=True; App=EntityFramework""
providerName="System.Data.EntityClient" />
</connectionStrings>
After adding entity framework now let’s add controller.
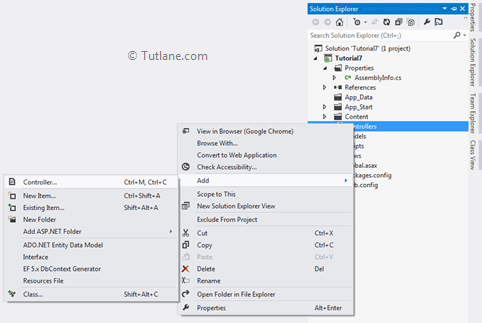
To add controller just right click on Controller folder then select Add from list and inside that select controller.
After selecting controller a new dialog will popup with name Add Controller. Now let’s change name of Controller to EmployeeController and In template we are going to select MVC controller with read/write actions and views, using Entity Framework. In Model class we are going to select your entity EmployeeDetail (Table name). Lastly in Data context class we are going to select EmployeeDBEntities (Connection string name)
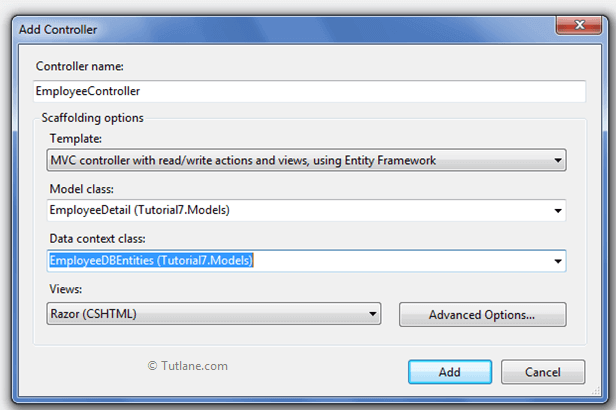
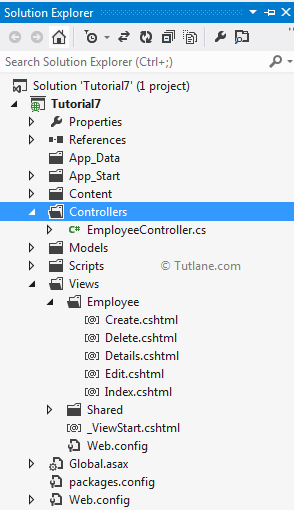
Finally click on Add button. After clicking on Add button this scaffolding will generate controller with complete CRUD operation code and also generate all the views related this CRUD operations whole lots of ready made stuff is available here. Once we add our project structure like as shown below
Here is complete Controller code which is generated after scaffolding
using System;
using System.Collections.Generic;
using System.Data;
using System.Data.Entity;
using System.Linq;
using System.Web;
using System.Web.Mvc;
using Tutorial7.Models;
namespace Tutorial7.Controllers
{
public class EmployeeController : Controller
{
private EmployeeDBEntities db = new EmployeeDBEntities();
//
// GET: /Employee/
public ActionResult Index()
{
return View(db.EmployeeDetails.ToList());
}
//
// GET: /Employee/Details/5
public ActionResult Details(int id = 0)
{
EmployeeDetail employeedetail = db.EmployeeDetails.Find(id);
if (employeedetail == null)
{
return HttpNotFound();
}
return View(employeedetail);
}
//
// GET: /Employee/Create
publicActionResult Create()
{
return View();
}
//
// POST: /Employee/Create
[HttpPost]
public ActionResult Create(EmployeeDetail employeedetail)
{
if (ModelState.IsValid)
{
db.EmployeeDetails.Add(employeedetail);
db.SaveChanges();
return RedirectToAction("Index");
}
return View(employeedetail);
}
//
// GET: /Employee/Edit/5
public ActionResult Edit(int id = 0)
{
EmployeeDetail employeedetail = db.EmployeeDetails.Find(id);
if (employeedetail == null)
{
return HttpNotFound();
}
return View(employeedetail);
}
//
// POST: /Employee/Edit/5
[HttpPost]
public ActionResult Edit(EmployeeDetail employeedetail)
{
if (ModelState.IsValid)
{
db.Entry(employeedetail).State = EntityState.Modified;
db.SaveChanges();
return RedirectToAction("Index");
}
return View(employeedetail);
}
//
// GET: /Employee/Delete/5
public ActionResult Delete(int id = 0)
{
EmployeeDetail employeedetail = db.EmployeeDetails.Find(id);
if (employeedetail == null)
{
return HttpNotFound();
}
return View(employeedetail);
}
//
// POST: /Employee/Delete/5
[HttpPost, ActionName("Delete")]
public ActionResult DeleteConfirmed(int id)
{
EmployeeDetail employeedetail = db.EmployeeDetails.Find(id);
db.EmployeeDetails.Remove(employeedetail);
db.SaveChanges();
return RedirectToAction("Index");
}
protected override void Dispose(bool disposing)
{
db.Dispose();
base.Dispose(disposing);
}
}
}
Now you do not need to write any more code just run your application and check
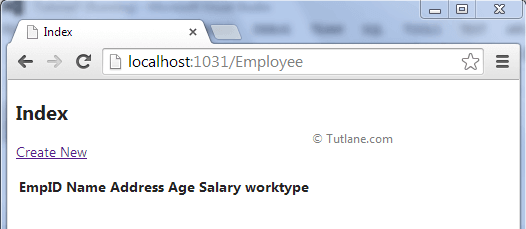
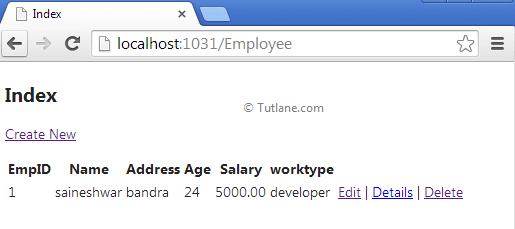
We are going to access first page is Index which shows all data which you have entered with a Create New link to access to create page. Our page url will be like http://localhost:1031/Employee/index
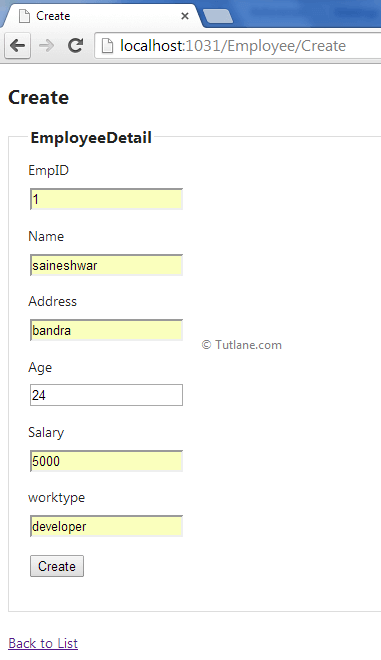
After clicking on create button we have came to Create page of Employee.
Here we basically going to Create Employee here by entering Employee details. Our page url will be like http://localhost:1031/Employee/Create
After adding Employee we are going to redirect user to index page where it will show all details which he have entered. Our Index page will dsplay details of all records entered. URL to access those details like http://localhost:1031/Employee/index
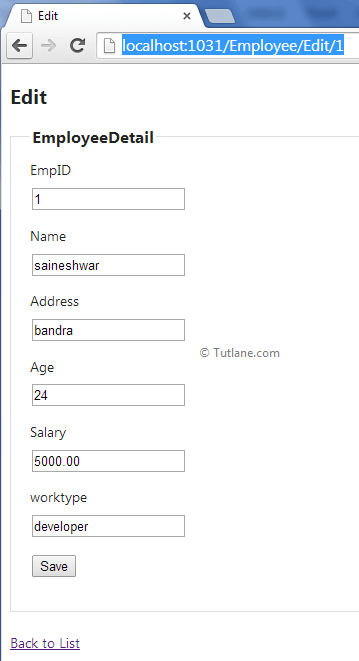
Now we are going to click on Edit link where it will show all details of records which he have selected for Edit.
In this page we are going to display single employee details in edit mode which we have selected from index page and also providing functionally to update details which ever he want except EmpID here and save it. URL will be like http://localhost:1031/Employee/Edit/1
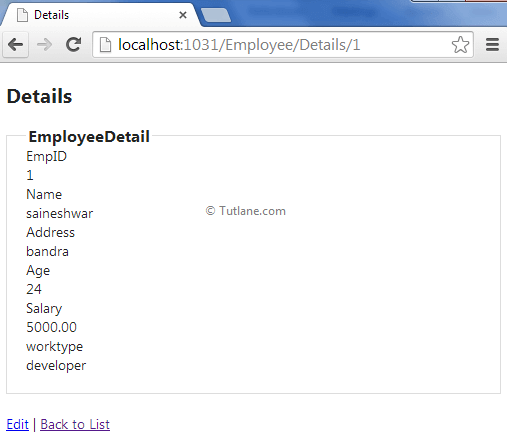
In details we are going to display details aof Employee which we have selected from Index page. URL will be like http://localhost:1031/Employee/Details/1
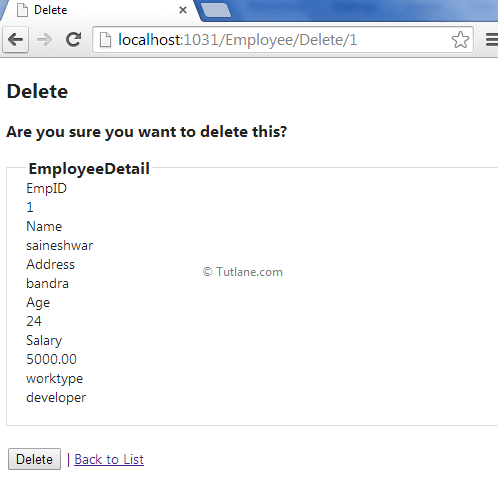
In delete we are going to delete employee from database and after that we are going to redirect it to index page. URL be like as http://localhost:1031/Employee/Delete/1
This way we can implement crud operations using ado.net entity framework in asp.net mvc application.