Here we will learn bundling and minification in asp.net mvc with example and how to optimize and improve performance of asp.net mvc website using bundling and minification with example.
Let’s start with Understanding New Feature in MVC 4 is Bundling and Minification. This feature helps us to reduce the Overall Load time of the Website.
While working in ASP.NET Webforms, we use the Master page to apply common design to all the pages in that we also use to add our Script reference and CSS reference to the page. There are many Script files like one for the date picker, other for Image Popup, if use webcam in your application then we also need to add reference JavaScript of Webcam to on the page, etc. same way we use CSS file references like one for the date picker, different CSS for Image Popup and last for webcam, etc. by adding these many references on page think how much time will it take to load a simple page.
When we try to browse a website, it will send an HTTP request to the server to get a single CSS file for the date picker. After that, it will send a request to get CSS for Image popup gallery after that, main site CSS, last for webcam, etc. it has sent more than 4 requests to getting all CSS files to render. This same process will be carried out for script too for that also more than 4 requests will send to get this script so total more than 8 hits on the server for getting only styles and script will sure affect load time.
To solve this problem, Microsoft has come up with new features, Bundling, and Minification in MVC.
In asp.net MVC bundling is used for grouping multiple script and styles such that it can be rendered in one single request from the server.

In this snapshot when the User is accessing the website from the server, the number of requests is made to get files from the server.

In this snapshot when the user is accessing the website from the server, we are using asp.net mvc bundling for request; that’s why only a single request is made to the server, and multiple files get a return.
In asp.net mvc, the minification feature is used for removing unnecessary whitespace, line break, and comments from Script and CSS files such that it can reduce its size and decrease the loading time of the Website.
After understanding what bundling and Minification are, let’s start to implement it.
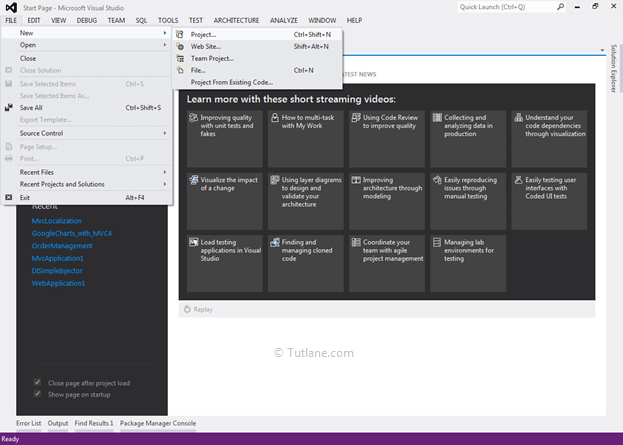
To create a new application in asp.net mvc, open visual studio from Start page select File à New à Project like the following image.
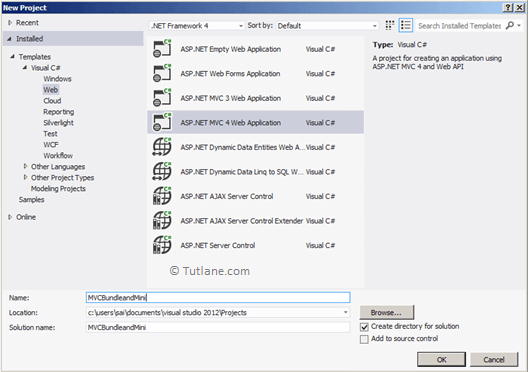
After that, a new dialog pop up will open from that select Templates à Visual C# à Web à In project select ASP.NET MVC 4 Web Application and enter Name of Project “MVCBundleandMini” after this just click on OK button.
Now new ASP.NET MVC 4 Project dialog will appear from that select Internet Application Template and select view engine as Razor. We are not going to Create Unit testing for this project; hence do not check this option click on the OK button like as shown below.

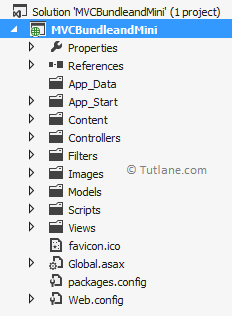
Once we click the OK button, it will create a new asp.net mvc application that would be like as shown below.
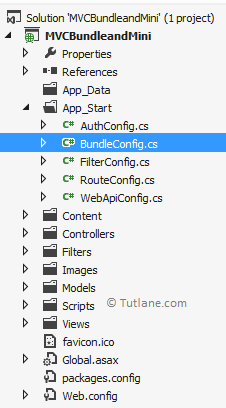
The Bundle is located in the App_Start Folder of your Project. If you open App_Start Folder, you will find [BundleConfig.cs]. In this file, we will write all Bundling and Minification scripts.
After locating where the bundle is stored, let’s open this file and check there are already some bundles created.
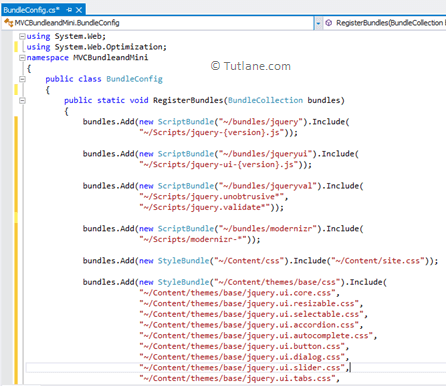
Now let’s learn how to create a bundle. The BundleCollection is a Class and System.Web.Optimization is the namespace in which it is located.
To add a new bundle, we should write code inside class BundleConfig with RegisterBundles Method. We are going to create a bundle for scripts that we have selected in the below snapshot.
First, we are going to use the object of bundles to add bundles.

After that, Add Method takes Bundle as Input for that we have provided [newScriptBundle] as input.

After that, [ScriptBundle] takes a virtual path as input for that we have to provide path ["~/TestBundle/Jqueryfiles"]. This path can be any path but must be simple to understand.

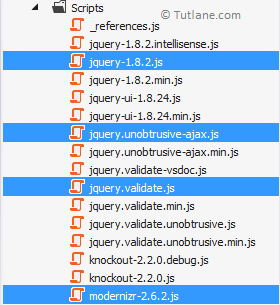
After providing a Virtual path, let’s provide all Script files VirtualPaths that we want to render.

Following is the complete code snippet of the bundle in the asp.net mvc application.
public static void RegisterBundles(BundleCollection bundles)
{
bundles.Add(new ScriptBundle("~/TestBundle/Jqueryfiles").Include(
"~/Scripts/modernizr-2.6.2.js",
"~/Scripts/jquery-1.8.2.js",
"~/Scripts/jquery.unobtrusive-ajax.js",
"~/Scripts/jquery.validate.js"
));
}
Finally, after completing with Adding VirtualPaths, let’s Add Controller and View for testing how this ScriptBundle renders on view.
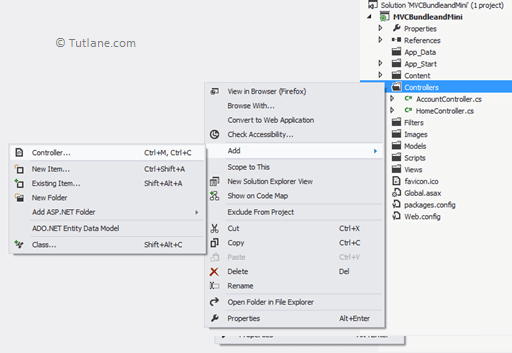
To add a controller, right-click on the Controller folder, select Add from the list, and inside that select controller.
After selecting the controller, a new dialog will pop up with the name Add Controller.
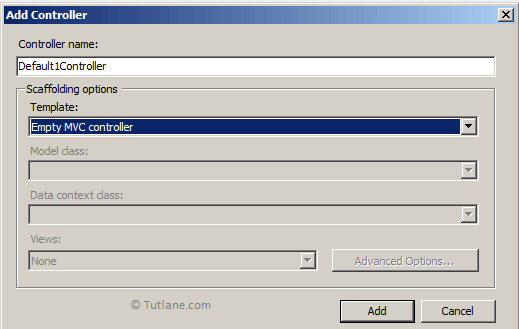
Now let’s name this controller as Default1Controller, and in the template, we are going to select the Empty MVC controller. Finally, click on the Add button to create Default1Controller.
Following is the code snippet of Default1Controller in the asp.net mvc application.
using System;
using System.Collections.Generic;
using System.Linq;
using System.Web;
using System.Web.Mvc;
namespace MVCBundleandMini.Controllers
{
public class Default1Controller : Controller
{
//
// GET: /Default1/
public ActionResult Index()
{
return View();
}
}
}
For adding the view, you need to right-click inside the Action Method Index. A new Dialog will Pop up with Name Add View. Following is a snapshot of it.
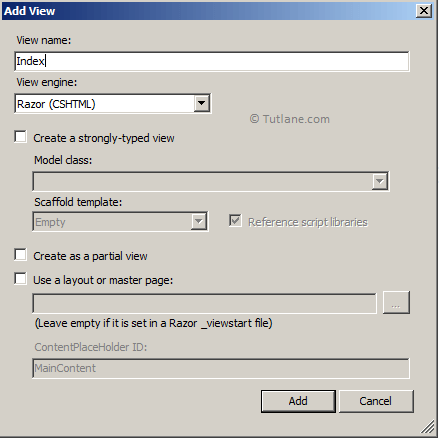
In the above dialog, the View Name will be similar to Action Method, and then the View engine will be Razor default. After that, we will not select any Template in the scaffold template and finally click on the Add button. Following is the snapshot after adding View.
Following is the complete code of the newly added index view.
@{
Layout = null;
}
<!DOCTYPE html>
<html>
<head>
<meta name="viewport" content="width=device-width"/>
<title>Index</title>
</head>
<body>
<div>
</div>
</body>
</html>To render script on View, we are going to use @Scripts helper and provide Virtual path reference which we have added in BundleConfig that will be like as shown below
@Scripts.Render("~/TestBundle/Jqueryfiles")
@{
Layout = null;
}
<!DOCTYPE html>
@Scripts.Render("~/TestBundle/Jqueryfiles")
<html>
<head>
<meta name="viewport" content="width=device-width"/>
<title>Index</title>
</head>
<body>
<div>
</div>
</body>
After adding Script to render now Save and Run Application without enabling optimizations and Access URL - http://localhost:xxxx/Default1/index
To debug how many Scripts are loaded, you can press F12 in the browser [Developer Tools]. For now, we are using a chrome browser to access this url. And press F12 to debug it.
To check load time, click on the Network tab and press F5 to reload the page to get the time log.
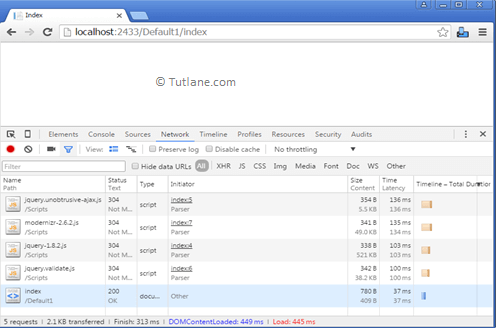
If you check, there are 5 requests made to Server to get the page and Script. You might think we have created a bundle, but it's not working. Still, we have 5 requests to the server. To make it work, we need to enable optimization.
To Enable optimization, we have to add [BundleTable.EnableOptimizations = true;] in BundleConfig Class. Following is the complete code snippet after enabling optimization.
using System.Web;
using System.Web.Optimization;
namespace MVCBundleandMini
{
public class BundleConfig
{
public static void RegisterBundles(BundleCollection bundles)
{
bundles.Add(new ScriptBundle("~/TestBundle/Jqueryfiles")
.Include(
"~/Scripts/modernizr-2.6.2.js",
"~/Scripts/jquery-1.8.2.js",
"~/Scripts/jquery.unobtrusive-ajax.js",
"~/Scripts/jquery.validate.js"
));
BundleTable.EnableOptimizations = true;
}
}
}
We enabled optimization in the script module now Save and Run the application. If you check, there are 2 requests made to Server to get the page and Script.
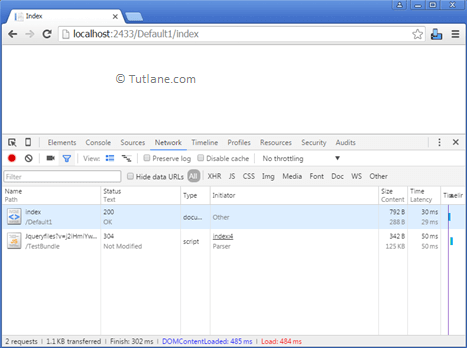
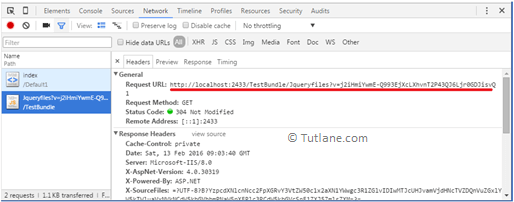
If you check the URL of the Script Bundle that we have created in the below snapshot, it is rendered for all script Files.
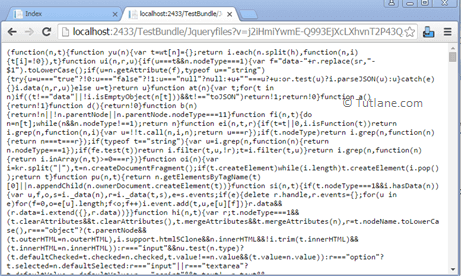
Now we have completed with Adding Script Bundle. If you copy the Requested URL from the above developer tool and check in the browser, it is minified. You will not find whitespace Comment in this File.
URL - http://localhost:2433/TestBundle/Jqueryfiles?v=j2iHmiYwmE-Q993EjXcLXhvnT2P43QJ6Ljr0GDJisvQ
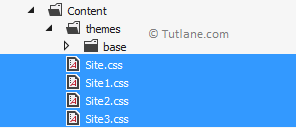
Now we are going to use the following selected CSS files to create a style bundle.
We are going to use the object of bundles to add bundles.
After that, Add Method take Bundle as Input for that we have provided [newStyleBundle] as input.

After that [StyleBundle] take Virtual path as input for that we have provide path ["~/TestContent/css"]. This path can be any path but must be simple to understand.

After providing Virtual path new let’s provide all Css files VirtualPaths, which we want to render.

Following is the complete code snippet of the Style bundle.
public static void RegisterBundles(BundleCollection bundles)
{
bundles.Add(new StyleBundle("~/TestContent/css")
.Include(
"~/Content/site.css",
"~/Content/site1.css",
"~/Content/site2.css",
"~/Content/site3.css"
));
}
Following is the complete code snippet of the BundleConfig file.
using System.Web;
using System.Web.Optimization;
namespace MVCBundleandMini
{
public class BundleConfig
{
public static void RegisterBundles(BundleCollection bundles)
{
bundles.Add(new ScriptBundle("~/TestBundle/Jqueryfiles")
.Include(
"~/Scripts/modernizr-2.6.2.js",
"~/Scripts/jquery-1.8.2.js",
"~/Scripts/jquery.unobtrusive-ajax.js",
"~/Scripts/jquery.validate.js"
));
bundles.Add(new StyleBundle("~/TestContent/css")
.Include(
"~/Content/site.css",
"~/Content/site1.css",
"~/Content/site2.css",
"~/Content/site3.css"
));
}
}
}
To render Style on View, we will use @Styles helper and provide a Virtual path reference to it that we have added in BundleConfig that would be like as shown below.
@Styles.Render("~/TestContent/css")
@{
Layout = null;
}
<!DOCTYPE html>
@Scripts.Render("~/TestBundle/Jqueryfiles")
@Styles.Render("~/TestContent/css")
<html>
<head>
<meta name="viewport" content="width=device-width"/>
<title>Index</title>
</head>
<body>
<div>
</div>
</body>
</html>
Now we will run application without enable optimization in style bundle. If you check below snapshot, there are 9 request made to get Css and Script files along with page.
![Accessing Index View without Enabling Optimizations [Style]](/images/aspnet-mvc/accessing-index-view-without-enabling-style-optimization-minification-mvc.png)
Now we will run applications by enabling optimization in the style bundle using the following property.
BundleTable.EnableOptimizations = true;
If you check, there are 3 requests made to Server to get page and CSS, Script.
![Accessing Index View with Enabling Optimizations [Style]](/images/aspnet-mvc/accessing-index-by-enabling-style-optimization-bundleminif-mvc.png)
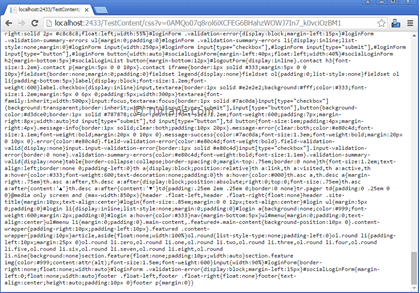
If you check the URL of the Style Bundle that we have created in the below snapshot, it is rendered for all CSS Files.
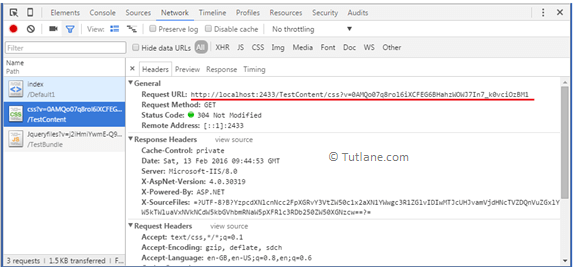
If you copy the Request URL from the above developer tool and check in the browser, it is minified. You will not find whitespace Comment in this File.
URL - http://localhost:2433/TestContent/css?v=0AMQo07q8rol6iXCFEG6BHahzWOWJ7In7_k0vciOzBM1
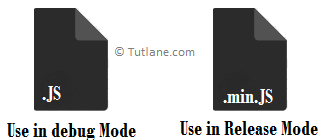
Note: - Use .js file in Debug Mode and .min.js file in Release Mode.