Here we will learn repository pattern in asp.net mvc, use of repository pattern, and how to implement crud operations using repository pattern in asp.net mvc with entity framework example.
The generic repository pattern in asp.net mvc is a data access pattern used to make your application loosely coupled. The generic repository pattern in asp.net mvc is a layer that works between the business and data access layers. Instead of writing entire data access logic on controller it’s better to write this logic in different class called repository. This will make your code more maintainable and understandable.
Now let's understand the repository pattern with a simple crud operations example in asp.net. For that Open visual studio à Go to File à Select New à Select Project.
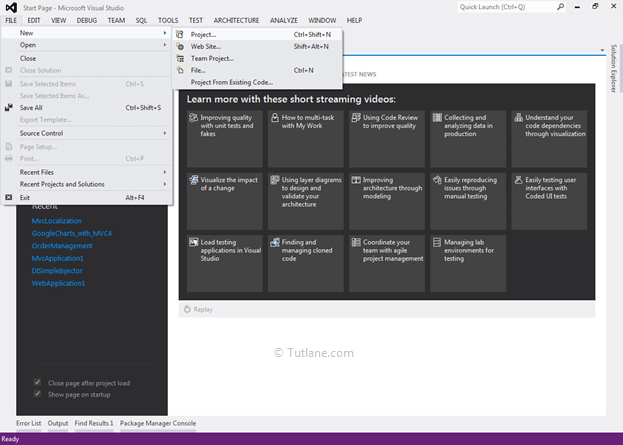
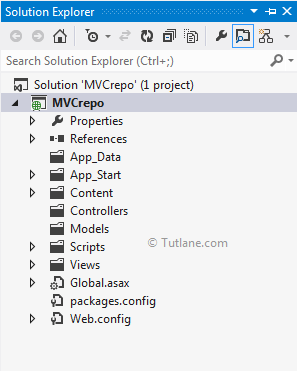
After that, you will see a new dialog for selecting your Template and Project type. From Templates, select Visual C# à inside that select Web and then project type select ASP.NET MVC 4 Web Application, and here we are giving the name as “MVCrepo” then finally click on ok button. Our project structure will be like as shown below.
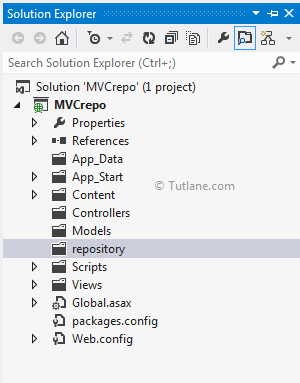
After creating a solution, let’s create a folder with the name “repository” to store repository related classes and interface.
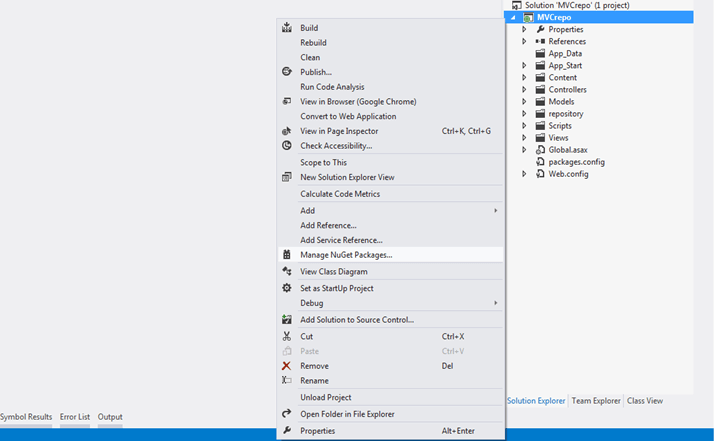
After creating the repository folder, we need to install the Entity Framework in our application.
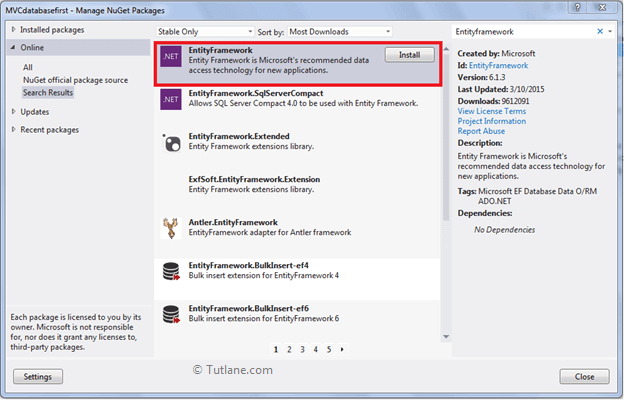
For adding Entity framework, right-click on your application, and from the above list, select “Manage NuGet Packages”.
After selecting, a new dialog popup for “Manage NuGet Packages” inside the search box, enter “Entityframework”. After getting the search value, select Entityframework click on the install button.
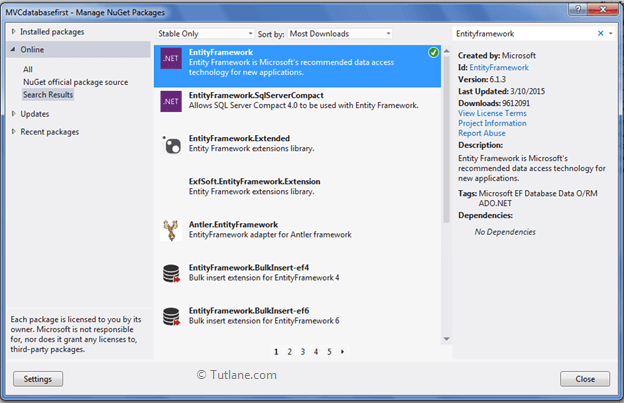
After adding, it will show an ok sign in green color.
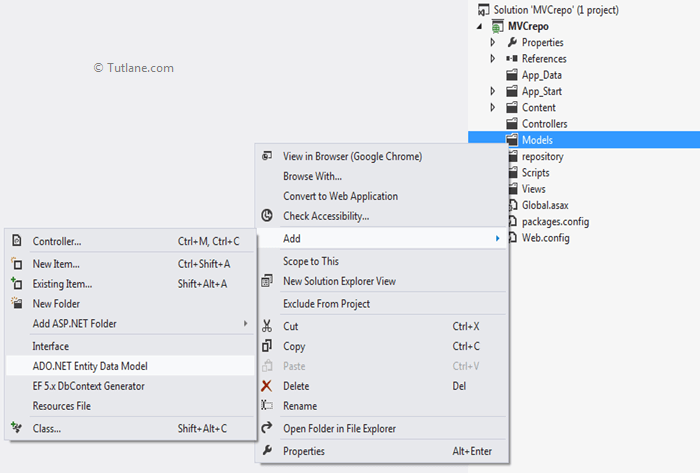
After installing the Entity framework, we are going to add ADO.NET Entity Data Model.
For adding ADO.NET Entity Data Model, right-click on Model folder and select Add inside that Select ADO.NET Entity Data Model to our solution.
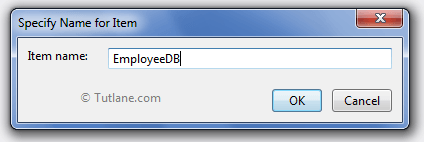
After that, a small dialog will pop up for asking ADO.NET Entity Data Model Name. I will name it as EmployeeDB.
After that, a new Wizard will popup where we are going configure Entity Data Model. In this, we are going to use Database first.
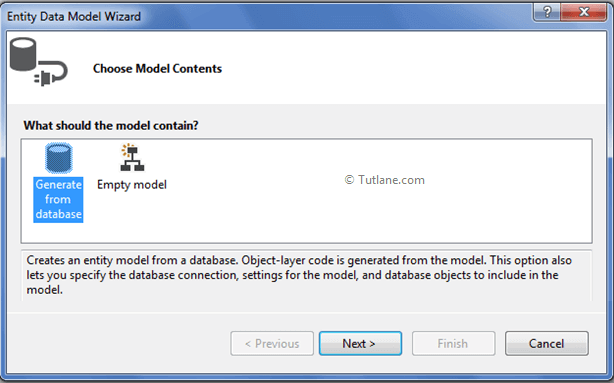
From that select Generate from database and click on Next button. After clicking on Next button a New Wizard will pop up for Choosing Data Connection.
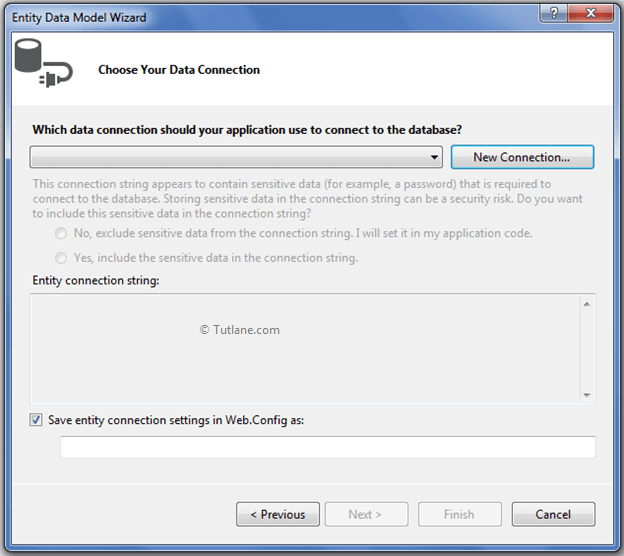
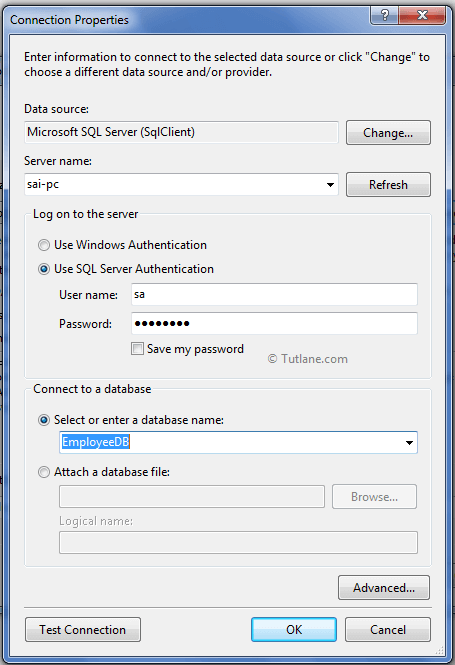
When you click on New Connection, a new Dialog will popup. Here we need to configure it. In Server name you need to add your Sql Server Name and select either Using Windows Authentication or Using Sql Server Authentication to connect SQL Server. Here we selected Using Sql Server Authentication and entered User name and Password of the SQL Server. Last, we are going to select the Database Name- EmployeeDB. After completion, click on the OK button, as shown below.
After adding the database connection, our Entity Data Model Wizard will look like the below snapshot.
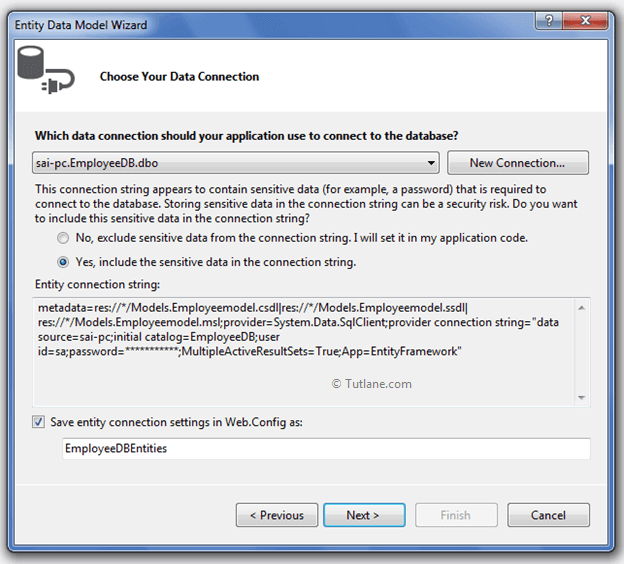
Now click on the Next button. A new wizard will pop up to select database objects, and in this, you will see all the tables we have created in the database.
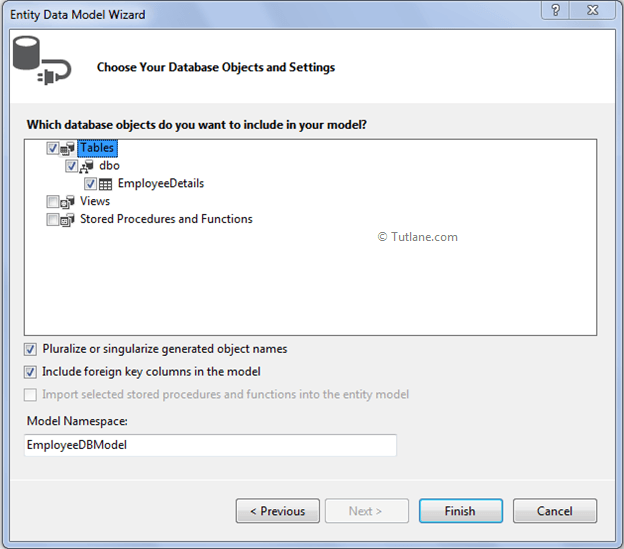
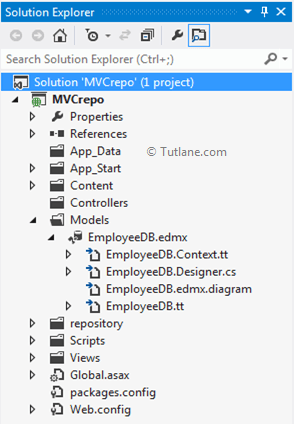
Finally, click on the Finish button. After adding ADO.NET Entity Data Model, our application will be like as shown below.
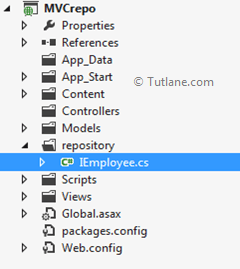
After creating ADO.NET Entity Data Model we first need to add the interface in the repository folder and name the interface as “IEmployee”.
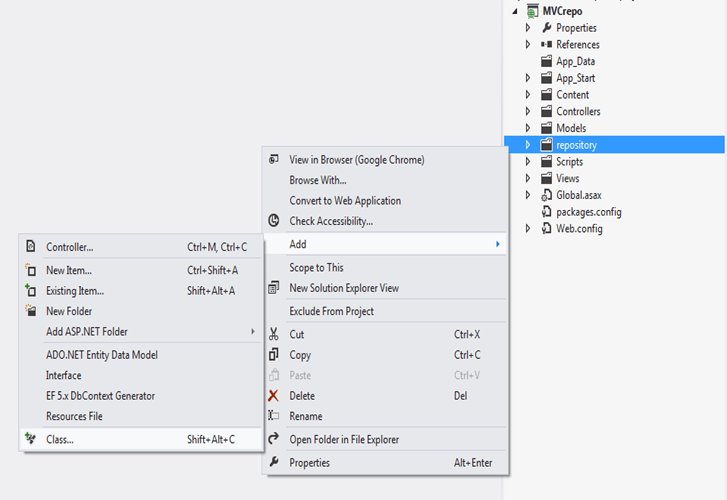
To add an interface, right-click on the repository folder à select Add à then select Class and name it as IEmployee once we add our project structure like as shown below.
Now open the IEmployee class file to remove the class word from the file and type Interface like as shown below.
using System;
using System.Collections.Generic;
using System.Linq;
using System.Text;
namespace MVCrepo.repository
{
interface IEmployee
{
}
}
Now inside this Interface, we will declare our CRUD methods that will be like as shown below.
using System;
using System.Collections.Generic;
using System.Linq;
using System.Text;
using MVCrepo.Models;
namespace MVCrepo.repository
{
interface IEmployee
{
void InsertEmployee(EmployeeDetail Employee); // C
IEnumerable<EmployeeDetail> GetEmployees(); // R
EmployeeDetail GetEmployeeByID(int EmployeeId); // R
void UpdateEmployee(EmployeeDetail Employee); //U
void DeleteEmployee(int EmployeeId); //D
void Save();
}
}
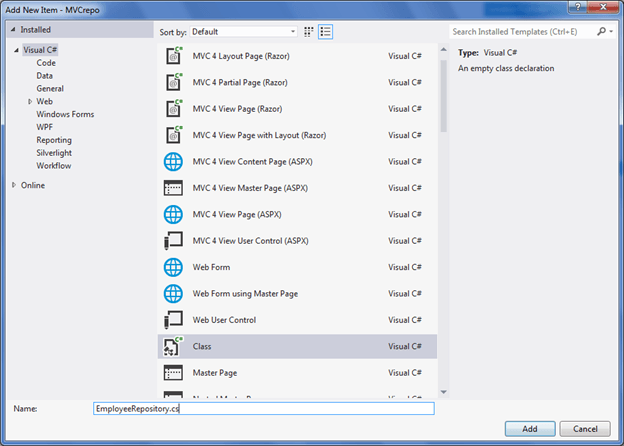
After adding interface and CRUD methods, we will add a class named “EmployeeRepository” in the repository folder to implement the IEmployee interface. For that, right-click on the repository folder à Select Add à then select Class like shown below.
After clicking on Class a new dialog will pop up for asking Class Name in that mention name of class file as "EmployeeRepository" as shown below.
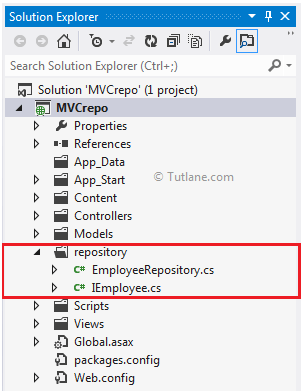
After adding the EmployeeRepository file, our project structure will be like as shown below.
Now open the EmployeeRepository file and write the code like as shown below.
using System;
using System.Collections.Generic;
using System.Data;
using System.Linq;
using System.Web;
using MVCrepo.Models;
namespace MVCrepo.repository
{
public class EmployeeRepository: IEmployee
{
private EmployeeDBEntities DBcontext;
public EmployeeRepository(EmployeeDBEntities objempcontext)
{
this.DBcontext = objempcontext;
}
public void InsertEmployee(Models.EmployeeDetail Employee)
{
DBcontext.EmployeeDetails.Add(Employee);
DBcontext.SaveChanges();
}
public IEnumerable<Models.EmployeeDetail> GetEmployees()
{
return DBcontext.EmployeeDetails.ToList();
}
public Models.EmployeeDetail GetEmployeeByID(int EmployeeId)
{
return DBcontext.EmployeeDetails.Find(EmployeeId);
}
public void UpdateEmployee(Models.EmployeeDetail Employee)
{
DBcontext.Entry(Employee).State = EntityState.Modified;
DBcontext.SaveChanges();
}
public void DeleteEmployee(int EmployeeId)
{
EmployeeDetail user = DBcontext.EmployeeDetails.Find(EmployeeId);
DBcontext.EmployeeDetails.Remove(user);
DBcontext.SaveChanges();
}
}
}
After implement Interface now, let’s add a Controller and Action method for calling this method and making them work. To add controller, right-click on Controller Folder à inside that select Add à then select Controller.
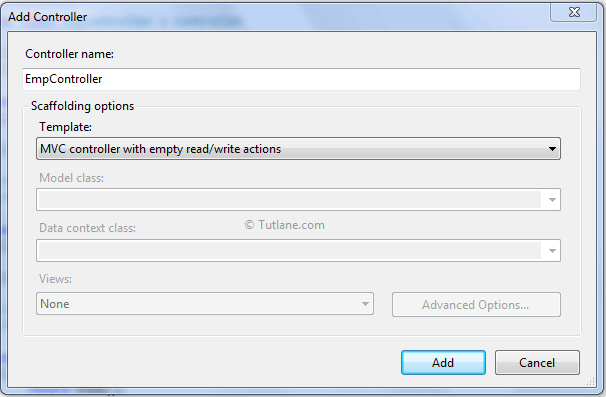
After selecting Controller a new dialog will pop up for asking Controller name and other configuration details. Name Controller as “EmpController” and while adding and in Template select “Mvc controller with empty read/write actions” this will create a whole structure of CRUD method for you.
After adding the controller, below is the complete code, which will be generated by the scaffolding template.
using System;
using System.Collections.Generic;
using System.Linq;
using System.Web;
using System.Web.Mvc;
namespace MVCrepo.Controllers
{
public class EmpController : Controller
{
//
// GET: /Emp/
public ActionResult Index()
{
return View();
}
//
// GET: /Emp/Details/5
public ActionResult Details(int id)
{
return View();
}
//
// GET: /Emp/Create
public ActionResult Create()
{
return View();
}
//
// POST: /Emp/Create
[HttpPost]
public ActionResult Create(FormCollection collection)
{
try
{
// TODO: Add insert logic here
return RedirectToAction("Index");
}
catch
{
return View();
}
}
//
// GET: /Emp/Edit/5
public ActionResult Edit(int id)
{
return View();
}
//
// POST: /Emp/Edit/5
[HttpPost]
public ActionResult Edit(int id, FormCollection collection)
{
try
{
// TODO: Add update logic here
return RedirectToAction("Index");
}
catch
{
return View();
}
}
//
// GET: /Emp/Delete/5
public ActionResult Delete(int id)
{
return View();
}
//
// POST: /Emp/Delete/5
[HttpPost]
public ActionResult Delete(int id, FormCollection collection)
{
try
{
// TODO: Add delete logic here
return RedirectToAction("Index");
}
catch
{
return View();
}
}
}
}
Now let’s add some code in Action Method. First thing we will create a constructor in EmpController class where we will call EmployeeRepository class and pass EmployeeDBEntities to it.
public class EmpController: Controller
{
private IEmployee Iemp;
public EmpController()
{
this.Iemp = new EmployeeRepository(new EmployeeDBEntities());
}
}
Now, after adding a constructor, we are moving to the first Action Method Index in this method. Whenever the user calls or accesses this page, we will show him a list of all records. For that, we will return an IEnumerable list.
public ActionResult Index()
{
var list = Iemp.GetEmployees().ToList();
return View(list);
}
After adding return List to view in Index now will create a view that will take List as input and display records in Gridview.
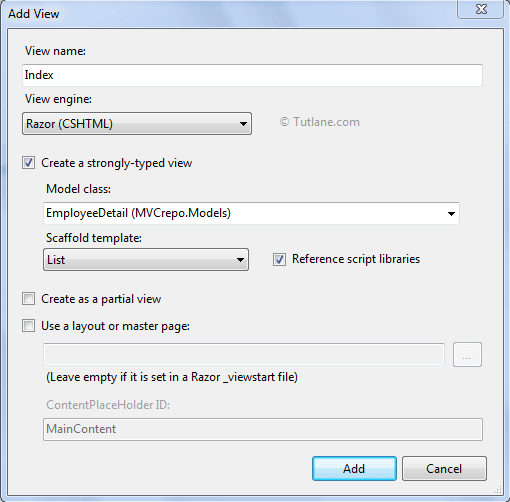
To add View, right-click inside Index ActionResult Method and Select "Add View" to create the view template for our Index form.
In the below snapshot, we selected View engine as Razor, and we are going to create a strong type of view for that we selected Model class EmployeeDetail. We want to generate a list for that I have selected List in Scaffold template finally click on Add button.
After adding view here below is a complete View of Index.cshtml, which is generated. In our view Index.cshtml we need to write the code like as shown below.
@model IEnumerable<MVCrepo.Models.EmployeeDetail>
@{
Layout = null;
}
<!DOCTYPE html>
<html>
<head>
<meta name="viewport" content="width=device-width"/>
<title>Details</title>
</head>
<body>
<p>
@Html.ActionLink("Create New", "Create")
</p>
<table>
<tr>
<th>
@Html.DisplayNameFor(model => model.Name)
</th>
<th>
@Html.DisplayNameFor(model => model.Address)
</th>
<th>
@Html.DisplayNameFor(model => model.Age)
</th>
<th>
@Html.DisplayNameFor(model => model.Salary)
</th>
<th>
@Html.DisplayNameFor(model => model.worktype)
</th>
<th></th>
</tr>
@foreach (var item in Model) {
<tr>
<td>
@Html.DisplayFor(modelItem => item.Name)
</td>
<td>
@Html.DisplayFor(modelItem => item.Address)
</td>
<td>
@Html.DisplayFor(modelItem => item.Age)
</td>
<td>
@Html.DisplayFor(modelItem => item.Salary)
</td>
<td>
@Html.DisplayFor(modelItem => item.worktype)
</td>
<td>
@Html.ActionLink("Edit", "Edit", new { id=item.EmpID }) |
@Html.ActionLink("Details", "Details", new { id=item.EmpID }) |
@Html.ActionLink("Delete", "Delete", new { id=item.EmpID })
</td>
</tr>
}
</table>
</body>
</html>
Output of Index.cshtml View like as shown below.

After completion, show the Record Details whenever the user clicks on the Details link from the above grid, which will take EmpID and Call Details Action result. From that ID, we will get a record and display the link to call Details Action Method.
@Html.ActionLink("Details", "Details", new { id=item.EmpID })
Our Details action method will be like, as shown below.
public ActionResult Details(int id)
{
var objemp = Iemp.GetEmployeeByID(id);
var Employee = new EmployeeDetail();
Employee.EmpID = id;
Employee.Name = objemp.Name;
Employee.Salary = objemp.Salary;
Employee.Age = objemp.Age;
Employee.Address = objemp.Address;
Employee.worktype = objemp.worktype;
return View(Employee);
}
After taking id as input, it will return an Employee model to Details view, and Details view will take this Model as input and generate the view. Here is below code of Details.cshtml.
@model MVCrepo.Models.EmployeeDetail
@{
Layout = null;
}
<!DOCTYPE html>
<html>
<head>
<meta name="viewport" content="width=device-width"/>
<title>Index</title>
</head>
<body>
<fieldset>
<legend>EmployeeDetail</legend>
<div class="display-label">
@Html.DisplayNameFor(model => model.Name)
</div>
<div class="display-field">
@Html.DisplayFor(model => model.Name)
</div>
<div class="display-label">
@Html.DisplayNameFor(model => model.Address)
</div>
<div class="display-field">
@Html.DisplayFor(model => model.Address)
</div>
<div class="display-label">
@Html.DisplayNameFor(model => model.Age)
</div>
<div class="display-field">
@Html.DisplayFor(model => model.Age)
</div>
<div class="display-label">
@Html.DisplayNameFor(model => model.Salary)
</div>
<div class="display-field">
@Html.DisplayFor(model => model.Salary)
</div>
<div class="display-label">
@Html.DisplayNameFor(model => model.worktype)
</div>
<div class="display-field">
@Html.DisplayFor(model => model.worktype)
</div>
</fieldset>
<p>
@Html.ActionLink("Edit", "Edit", new { id=Model.EmpID }) |
@Html.ActionLink("Back to List", "Index")
</p>
</body>
</html>
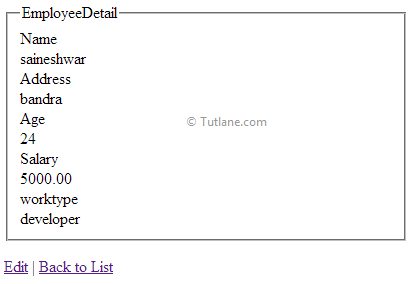
Output of Details.cshtml View like as shown below.
After showing employee Details View, we will create a Create View that takes user input and post server. In this, we are going to have 2 Action selectors method.
[HttpGet] - This represents an attribute used to restrict an action method so that the method handles only HTTP GET requests.
[HttpPost] - This represents an attribute used to restrict an action method so that the method handles only HTTP POST requests.
When we call the Create Action Method, the HttpGet will get fired, and this will return a blank Employee Model for creating a Create View.
[HttpGet]
public ActionResult Create()
{
return View(new EmployeeDetail());
}
Here is below code of Create.cshtml
@model MVCrepo.Models.EmployeeDetail
<script src="~/Scripts/jquery-1.7.1.min.js"></script>
<script src="~/Scripts/jquery.validate.min.js"></script>
<script src="~/Scripts/jquery.validate.unobtrusive.min.js"></script>
@using (Html.BeginForm()) {
@Html.ValidationSummary(true)
<fieldset>
<legend>EmployeeDetail</legend>
<div class="editor-label">
@Html.LabelFor(model => model.Name)
</div>
<div class="editor-field">
@Html.EditorFor(model => model.Name)
@Html.ValidationMessageFor(model => model.Name)
</div>
<div class="editor-label">
@Html.LabelFor(model => model.Address)
</div>
<div class="editor-field">
@Html.EditorFor(model => model.Address)
@Html.ValidationMessageFor(model => model.Address)
</div>
<div class="editor-label">
@Html.LabelFor(model => model.Age)
</div>
<div class="editor-field">
@Html.EditorFor(model => model.Age)
@Html.ValidationMessageFor(model => model.Age)
</div>
<div class="editor-label">
@Html.LabelFor(model => model.Salary)
</div>
<div class="editor-field">
@Html.EditorFor(model => model.Salary)
@Html.ValidationMessageFor(model => model.Salary)
</div>
<div class="editor-label">
@Html.LabelFor(model => model.worktype)
</div>
<div class="editor-field">
@Html.EditorFor(model => model.worktype)
@Html.ValidationMessageFor(model => model.worktype)
</div>
<p>
<input type="submit" value="Create"/>
</p>
</fieldset>
}
<div>
@Html.ActionLink("Back to List", "Index")
</div>
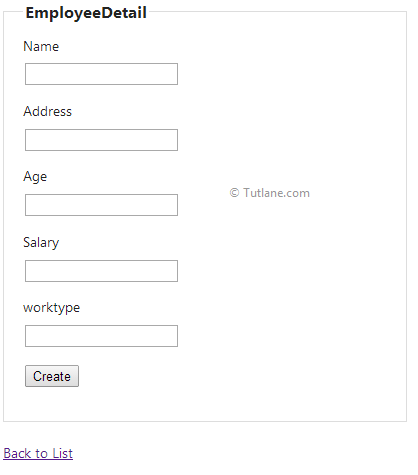
Output of Create.cshtml View.
We finished the HttpGet part. Now let's move to the HttpPost method.
When we are going to click on the Create button of Create.cshtml View then post this Form to server. Using a tight coupling Employee model that carries data to server and HttpPost Method of Create will take Employee Model as Input and pass data to InsertEmployee Method of EmployeeRepository for saving data. Here is the code snippet of the Create HttpPost Method.
[HttpPost]
public ActionResult Create(FormCollection collection, EmployeeDetail objemp)
{
try
{
var Employee = new EmployeeDetail();
Employee.EmpID = 0;
Employee.Name = objemp.Name;
Employee.Salary = objemp.Salary;
Employee.Age = objemp.Age;
Employee.Address = objemp.Address;
Employee.worktype = objemp.worktype;
Iemp.InsertEmployee(Employee); // Passing data to InsertEmployee of EmployeeRepository
return RedirectToAction("Index");
}
catch
{
return View();
}
}
After completing with create now we are moving towards Edit page it is little bit similar Create and List . We will take Id as input and according to id, we will retrieve data from the database using EmployeeRepository.
In this we are going to have 2 Action selectors method.
The first HttpGet method will take ID and Get records and Return it to view. From Grid we are going to select Edit link which will take EmpID and Call Edit Action thod
Link for calling Edit Action Method
@Html.ActionLink("Edit", "Edit", new { id=item.EmpID })
Here below is code snippet of Edit HttpGet Method
public ActionResult Edit(int id)
{
var objemp = Iemp.GetEmployeeByID(id); // getting records by id GetEmployeeByID(ID)
var Employee = new EmployeeDetail();
Employee.EmpID = id;
Employee.Name = objemp.Name;
Employee.Salary = objemp.Salary;
Employee.Age = objemp.Age;
Employee.Address = objemp.Address;
Employee.worktype = objemp.worktype;
return View(Employee);
}
This edit method will return Employee model which will be input to Edit View and it will display records according to it. Here is below code of Edit.cshtml
@model MVCrepo.Models.EmployeeDetail
@{ Layout = null; }
<!DOCTYPE html>
<html>
<head>
<meta name="viewport" content="width=device-width"/>
<title>Edit</title>
</head>
<body>
<script src="~/Scripts/jquery-1.7.1.min.js"></script>
<script src="~/Scripts/jquery.validate.min.js"></script>
<script src="~/Scripts/jquery.validate.unobtrusive.min.js"></script>
@using (Html.BeginForm()) {
@Html.ValidationSummary(true)
<fieldset>
<legend>EmployeeDetail</legend>
@Html.HiddenFor(model => model.EmpID)
<div class="editor-label">
@Html.LabelFor(model => model.Name)
</div>
<div class="editor-field">
@Html.EditorFor(model => model.Name)
@Html.ValidationMessageFor(model => model.Name)
</div>
<div class="editor-label">
@Html.LabelFor(model => model.Address)
</div>
<div class="editor-field">
@Html.EditorFor(model => model.Address)
@Html.ValidationMessageFor(model => model.Address)
</div>
<div class="editor-label">
@Html.LabelFor(model => model.Age)
</div>
<div class="editor-field">
@Html.EditorFor(model => model.Age)
@Html.ValidationMessageFor(model => model.Age)
</div>
<div class="editor-label">
@Html.LabelFor(model => model.Salary)
</div>
<div class="editor-field">
@Html.EditorFor(model => model.Salary)
@Html.ValidationMessageFor(model => model.Salary)
</div>
<div class="editor-label">
@Html.LabelFor(model => model.worktype)
</div>
<div class="editor-field">
@Html.EditorFor(model => model.worktype)
@Html.ValidationMessageFor(model => model.worktype)
</div>
<p> <input type="submit" value="Save"/> </p>
</fieldset>
}
<div>@Html.ActionLink("Back to List", "Index")</div>
</body>
</html>
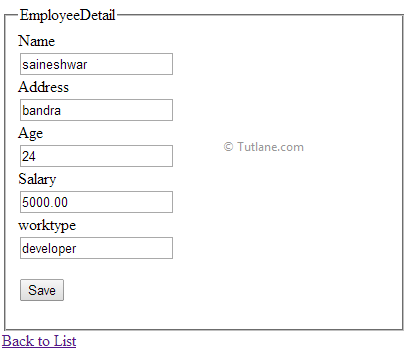
Output of Edit.cshtml View
HttpPost of Edit
When we click on the save button of Edit.cshtml View, it will post this Form to the server. We are using a tight coupling Employee model that carries data to the server, and the HttpPost Method of Edit will take Employee Model as Input and pass data to the UpdateEmployee Method of EmployeeRepository for Updating data.
After updating, it will redirect to Index. Following is the code snippet of the Edit HttpPost Method.
[HttpPost]
public ActionResult Edit(FormCollection collection, EmployeeDetail objemp)
{
try
{
var Employee = new EmployeeDetail();
Iemp.UpdateEmployee(objemp); // calling UpdateEmployee method of EmployeeRepository
return RedirectToAction("Index");
}
catch
{
return View();
}
}
After Completing Edit, finally moving towards the Delete method. In this, we are going to have 2 Action selectors method.
The first HttpGet method will take ID and Get records and Return it to view. From Grid, we will select the Delete link, which will take EmpID and Call Delete Action Method.
Link for calling Delete Action Method
@Html.ActionLink("Delete", "Delete", new { id=item.EmpID })
Here below is a code snippet of the Delete HttpGet Method.
public ActionResult Delete(int id)
{
var objemp = Iemp.GetEmployeeByID(id); // calling GetEmployeeByID method of EmployeeRepository
return View(objemp);
}
This Delete method will take EmpID as input and return Employee model, which will be input to Delete View, and it will display records according to it. Here is below code of Delete.cshtml
@model MVCrepo.Models.EmployeeDetail
@{
Layout = null;
}
<!DOCTYPE html>
<html>
<head>
<meta name="viewport" content="width=device-width"/>
<title>Delete</title>
</head>
<body>
<h3>Are you sure you want to delete this?</h3>
<fieldset>
<legend>EmployeeDetail</legend>
<div class="display-label">
@Html.DisplayNameFor(model => model.Name)
</div>
<div class="display-field">
@Html.DisplayFor(model => model.Name)
</div>
<div class="display-label">
@Html.DisplayNameFor(model => model.Address)
</div>
<div class="display-field">
@Html.DisplayFor(model => model.Address)
</div>
<div class="display-label">
@Html.DisplayNameFor(model => model.Age)
</div>
<div class="display-field">
@Html.DisplayFor(model => model.Age)
</div>
<div class="display-label">
@Html.DisplayNameFor(model => model.Salary)
</div>
<div class="display-field">
@Html.DisplayFor(model => model.Salary)
</div>
<div class="display-label">
@Html.DisplayNameFor(model => model.worktype)
</div>
<div class="display-field">
@Html.DisplayFor(model => model.worktype)
</div>
</fieldset>
@using (Html.BeginForm()) {
<p>
<input type="submit" value="Delete"/> |
@Html.ActionLink("Back to List", "Index")
</p>
}
</body>
</html>
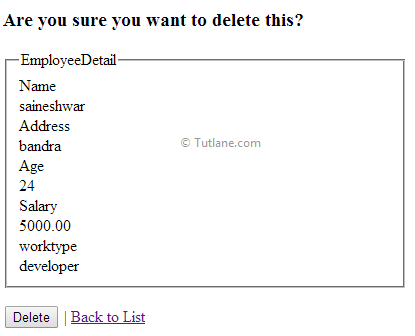
Output of Delete.cshtml View
When we are going to click on the Delete button of Delete.cshtml View, it will post the Form to the server. We are using a tight coupling Employee model that carries data to the server, and the HttpPost Method of Delete will take Employee Model as Input and pass data to the DeleteEmployee Method of EmployeeRepository for Deleting data. After Deleting, it will redirect to Index.
[HttpPost]
public ActionResult Delete(int id, EmployeeDetail objemp)
{
try
{
Iemp.DeleteEmployee(id); // calling DeleteEmployee method of EmployeeRepository
return RedirectToAction("Index");
}
catch
{
return View();
}
}
Finally, we completed the generic repository pattern in asp.net mvc in the step by step with crud operations.