We will generally use the entity framework database first approach to create a business model from the existing database. We will learn how to use entity framework database first approach in asp.net mvc application with a simple example. To implement this, we will use visual studio 2012 and Entity Framework 5.0.
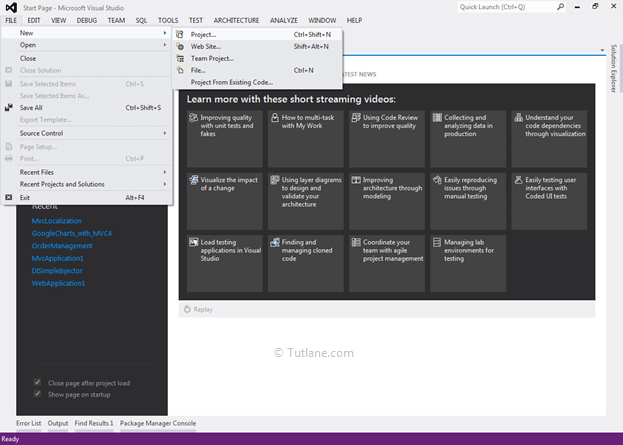
Let's start with creating a new asp.net mvc 4 application for that Open visual studio à Go to File à Select New à Select Project.
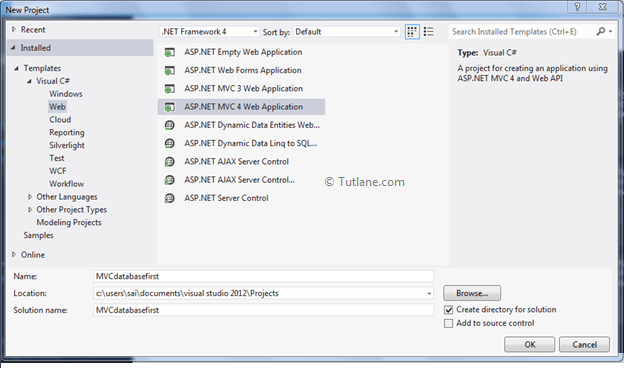
After that, you will see a new dialog for selecting your Template and Project type. From Templates, select Visual C# à inside that select Web and select project type as ASP.NET MVC 4 Web Application. Here we are giving the name “MVCdatabasefirst” finally, click on the ok button.
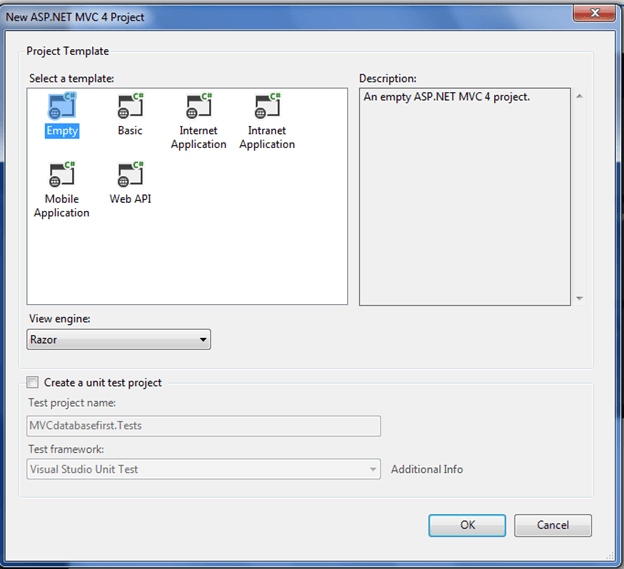
After naming it, click on OK a new dialog will pop up for selecting a template in that Select Empty template and click ok like as shown below.
After completion of creating applications, it’s time to create a database. For showing demo, we already created a Database with the name EmployeeDB and a table with the name EmployeeDetails like as shown below.
EmployeeDB Database
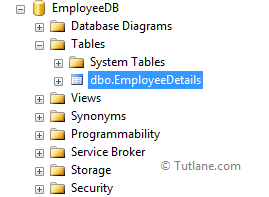
EmployeeDetails Table

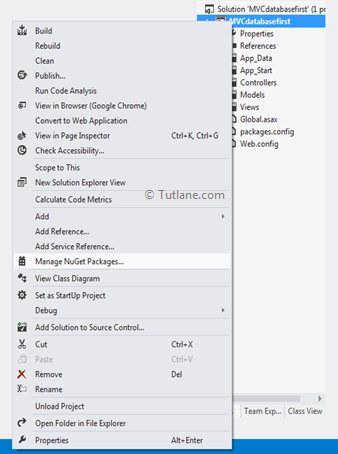
For adding Entity framework, right-click on your application, and from the above list, select “Manage NuGet Packages” as shown below.
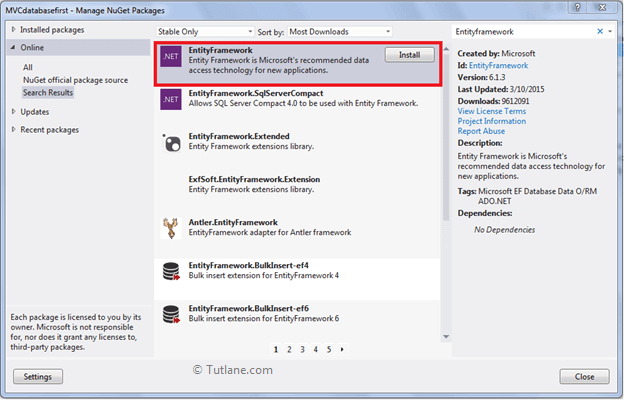
After selecting a new dialog, the “Manage NuGet Packages” will pop up inside the search box enter “Entityframework”. After getting the search value, select Entityframework click on the install button.
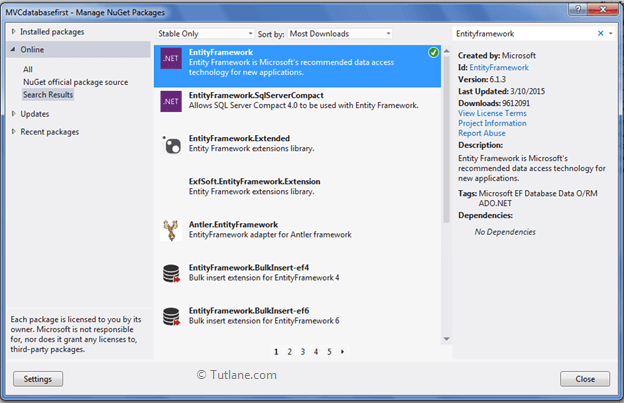
After adding, it will show an ok sign in green color like as shown below.
After adding the Entity framework, we are going to add ADO.NET Entity Data Model.
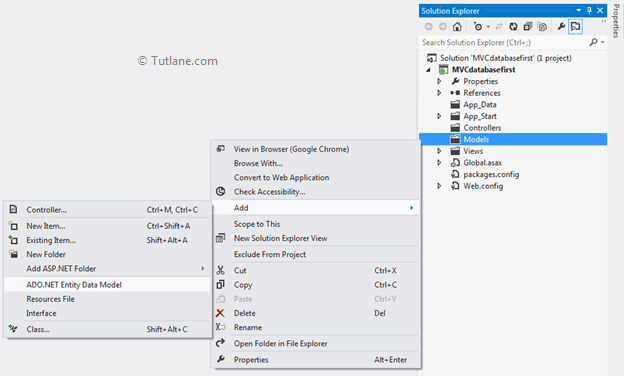
For adding ADO.NET Entity Data Model, right-click on the Model folder and select Add inside that Select ADO.NET Entity Data Model.
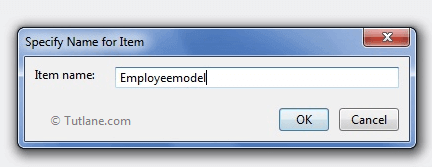
After clicking on ADO.NET Entity Data Model, a New Dialog will pop up for entering Item name inside that you can enter any name, but it must be unique and click on the OK button like as shown below.
After that, a new Wizard will popup as shown below.
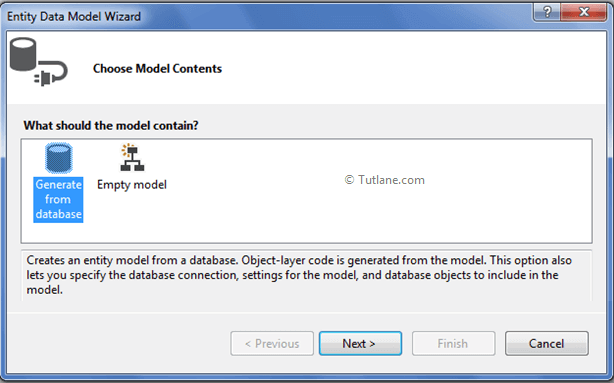
From that, select Generate from database and click on the Next button. After clicking on the Next button, a New Wizard will pop up for Choosing Data Connection.
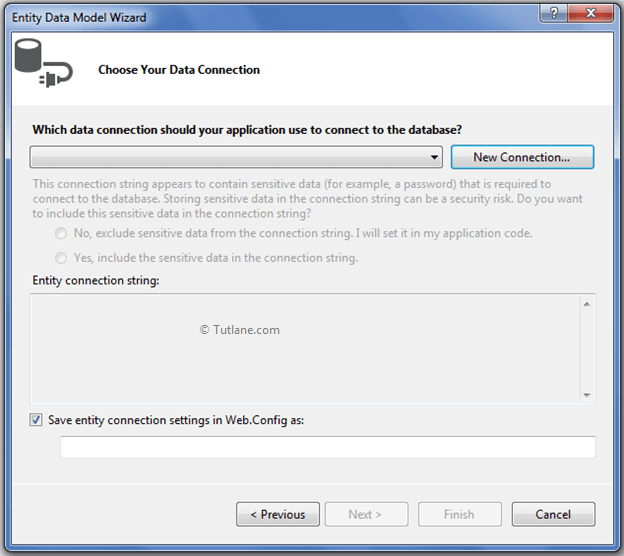
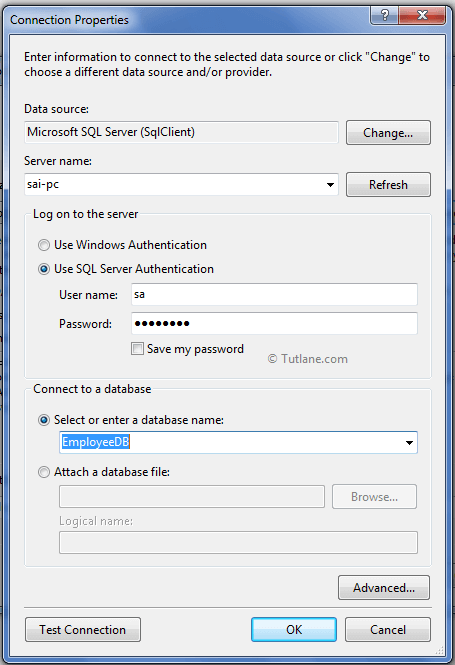
Now click on New Connection, a new Dialog will pop up, and you need to configure it. In Server name, you need to add your SQL Server Name and select either Using Windows Authentication or Using SQL Server Authentication to connect SQL Server. Here we selected Using SQL Server Authentication and entered the User name and Password of the SQL server. Last, we will select Database Name: - EmployeeDB. Once we have done, click on the OK button as shown below.
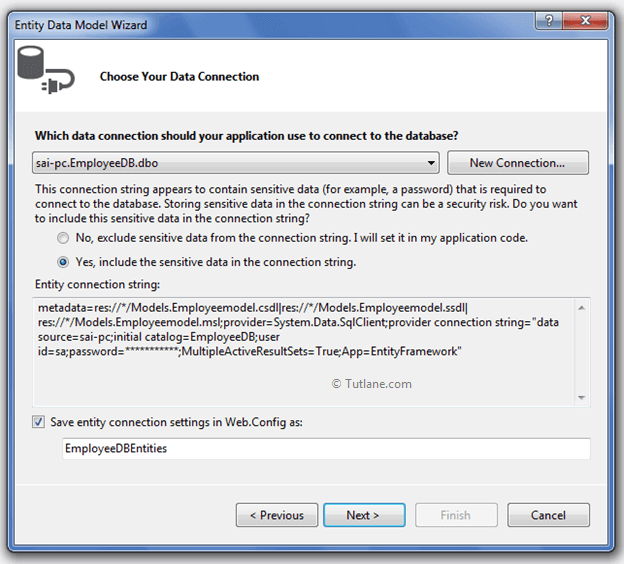
After adding the database connection, our Entity Data Model Wizard will look like the below snapshot.
Now click on the Next button. A new wizard will pop up for selecting database objects, and in this, you will see all the tables that we have created in the database.
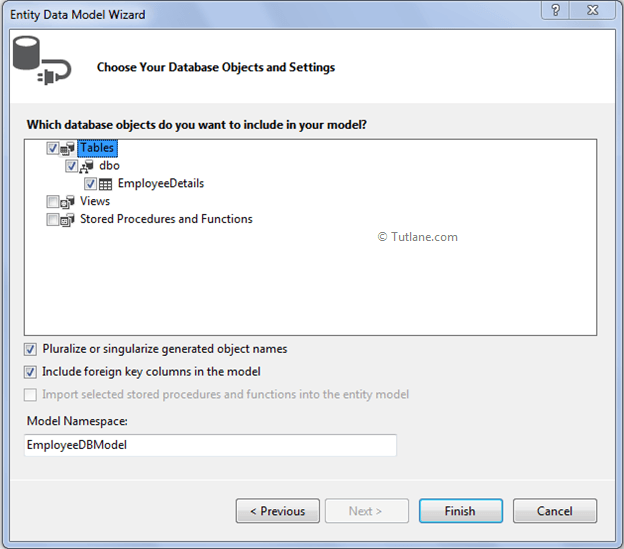
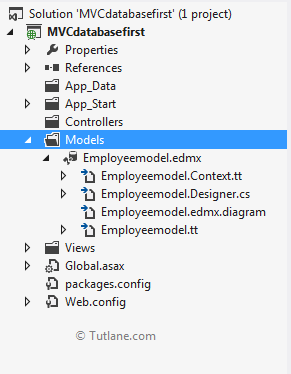
And the last click on the Finish button. Here is a snapshot after adding ADO.NET Entity Data Model.
Now let's test how it works.
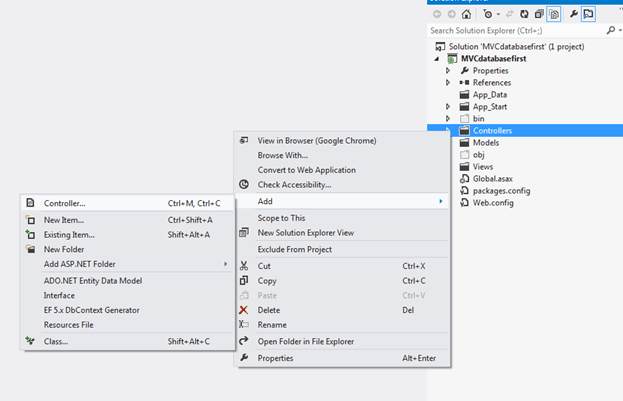
To add controller, right-click on Controller Folder inside that select Add and then select Controller like as shown below.
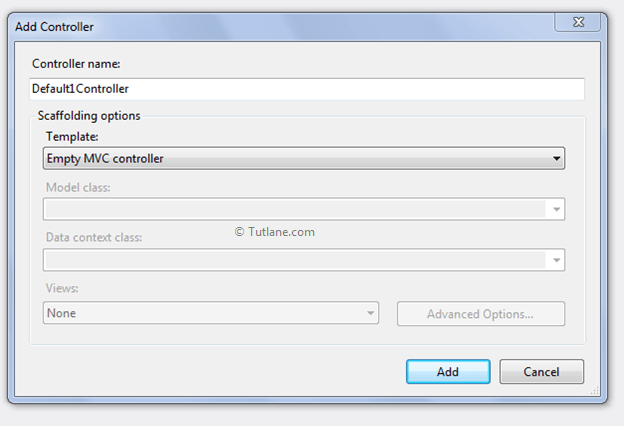
After clicking on Controller, a new dialog will pop up with the name Add Controller in that mention controller name and select template type and click Add like as shown.
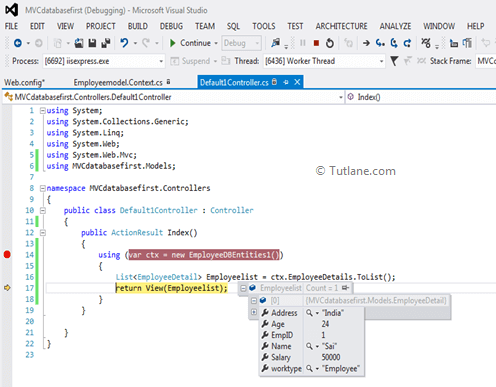
In this Default1Controller, write code to get Employeelist from EmployeeDB database like as shown below.
using System;
using System.Collections.Generic;
using System.Linq;
using System.Web;
using System.Web.Mvc;
using MVCdatabasefirst.Models;
namespace MVCdatabasefirst.Controllers
{
public class Default1Controller : Controller
{
public ActionResult Index()
{
using (var ctx = new EmployeeDBEntities1())
{
List<EmployeeDetail> Employeelist = ctx.EmployeeDetails.ToList();
return View(Employeelist);
}
}
}
}
Now open our database table "EmployeeDetails" and enter some temporary data in it like as shown below.

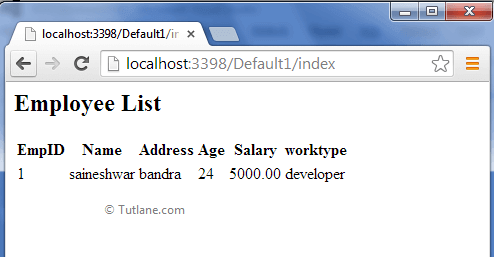
Now let Test Database first approach. Here we showed a snapshot in debugging mode.
If we create a view for this controller and bind values, our output will be shown below.