The Remote validations in asp.net mvc is a mechanism used to make a remote server call to validate specific data without posting the entire form to the server. For example, many web application requires a unique Username name to register to their site. To check the unique Username name, we are making calls to the server to check whether the username exists or not, and we need to show the Error message "Name already Used" if not exist. It is a good example of Remote Validation in asp.net mvc.
For this example, let’s create a basic asp.net MVC 4 application with the name Remotevalidations for that Open visual studio à Go to File à Select New à Select Project as shown below.
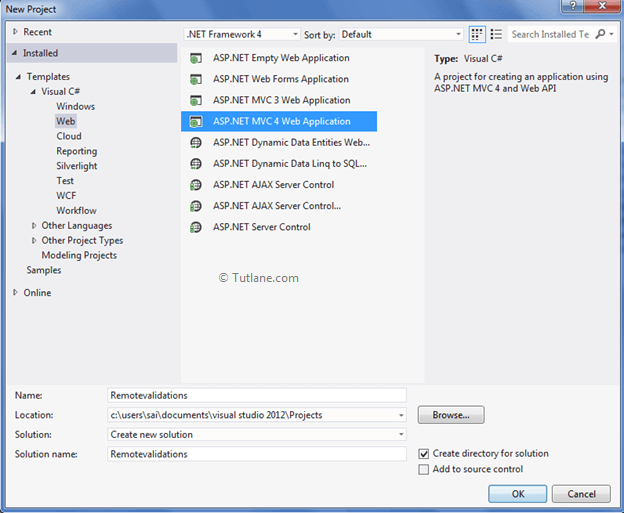
After that, you will see a new dialog that will pop up for selecting your Template and Project type. From Templates select Visual C# àinside that select Web and then project type select ASP.NET MVC 4 Web Application and here we are giving the name as “Remotevalidations” then finally click on ok button.
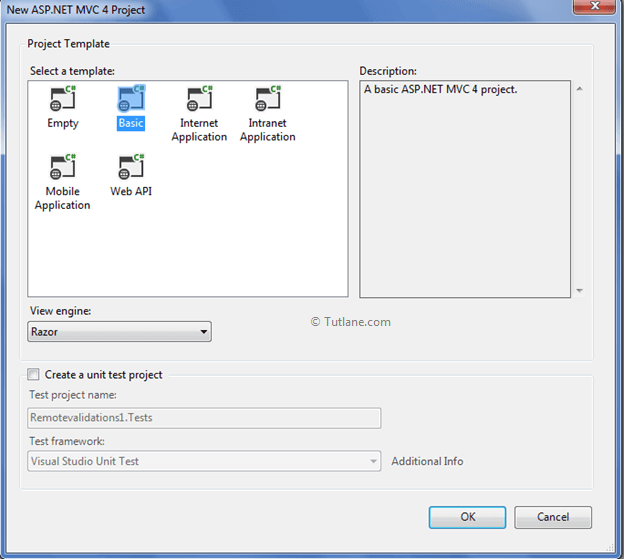
After naming it, click on OK, a new dialog will popup for selecting the template. In that, choose the Basic template and click ok.
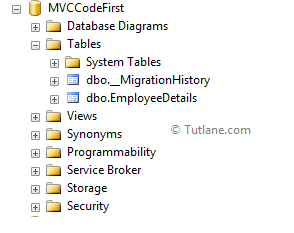
After creating the application now, let’s work with some database part. To validate data, we need to validate the data against the available data in database tables. For showing the demo, we already created a Database with the name EmployeeDB and a table with the name EmployeeDetails.

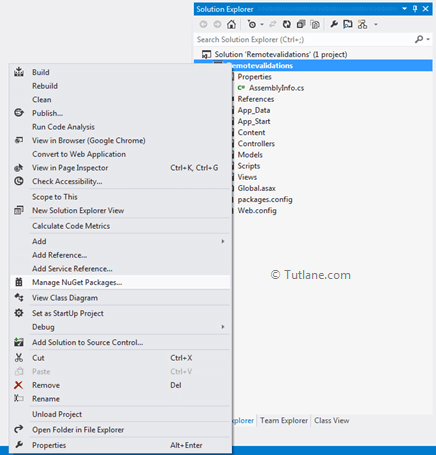
To add the Entity framework, right-click on your application and select “Manage NuGet Packages” from the above list.
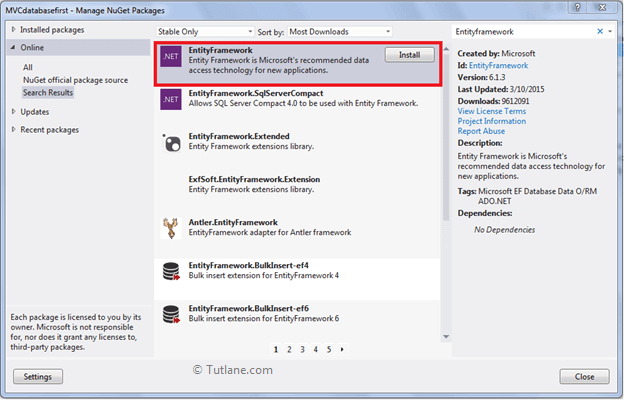
After selecting the Manage NuGet Packages option, a new dialog will popup of “Manage NuGet Packages”. Inside the search box, enter “EntityFramework”. After getting the search value, select EntityFramework click on the install button.
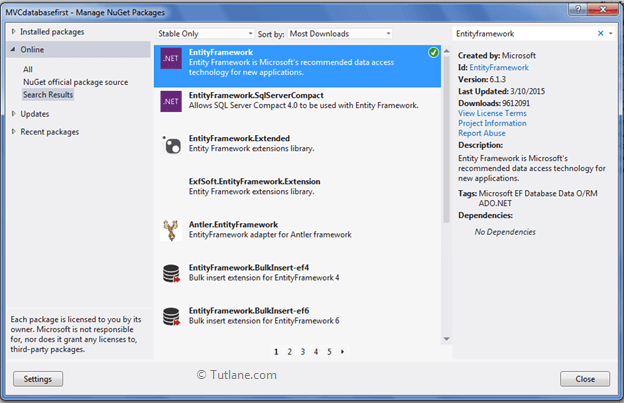
After adding it will show an ok sign in green color.
After adding the Entity framework, we will add ADO.NET Entity Data Model.
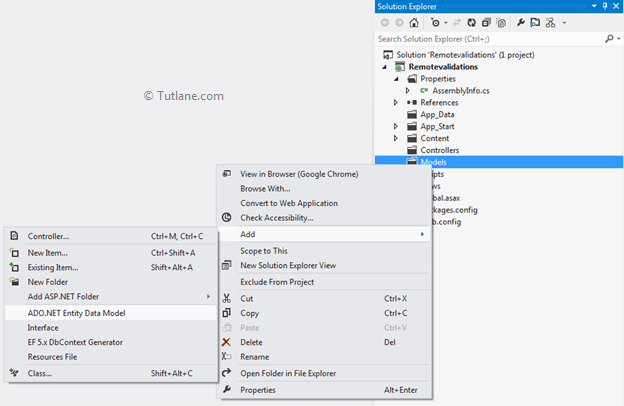
For adding ADO.NET Entity Data Model, right-click on the Model folder and select Add inside that Select ADO.NET Entity Data Model.
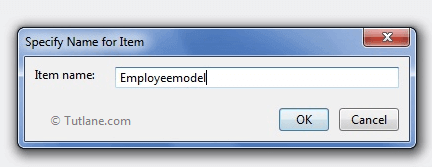
After clicking on ADO.NET Entity Data Model, a New Dialog will pop up for entering the Item name. Inside that, you can enter any name, but it must be unique and click on the OK button.
After that, a new Wizard will pop up, as shown below.
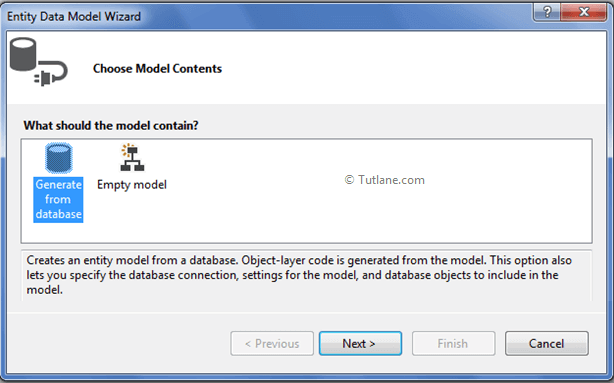
From that, select Generate from the database and click on the Next button. After clicking on the Next button, a New Wizard will pop up for Choosing Data Connection.
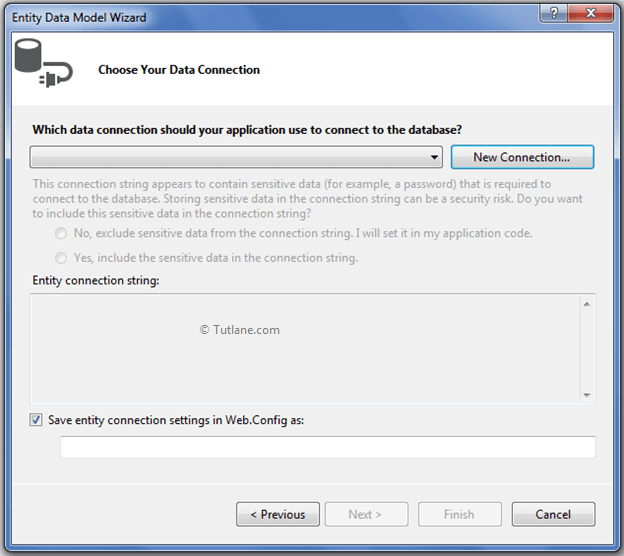
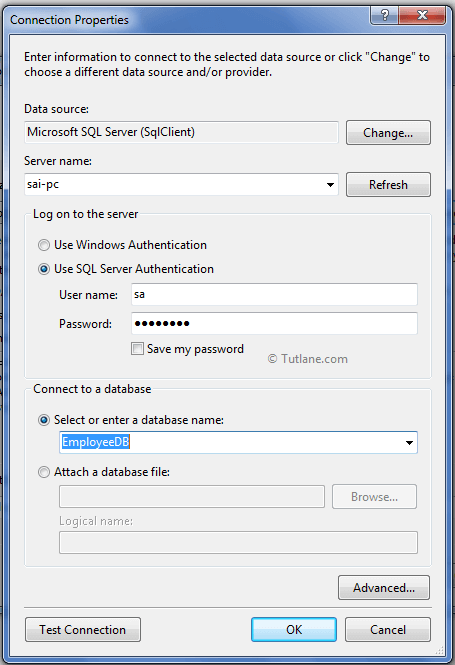
Now click on New Connection a new Dialog will popup. Here we need to configure it. In Server name, you need to add your SQL Server Name and select either Using Windows Authentication or Using SQL Server Authentication to connect SQL Server. Here we selected Using SQL Server Authentication and entered the User name and Password of the SQL server. Last, we will select Database Name as EmployeeDB and click on the OK button as shown below.
After adding a database connection, our Entity Data Model Wizard will look like the below snapshot.
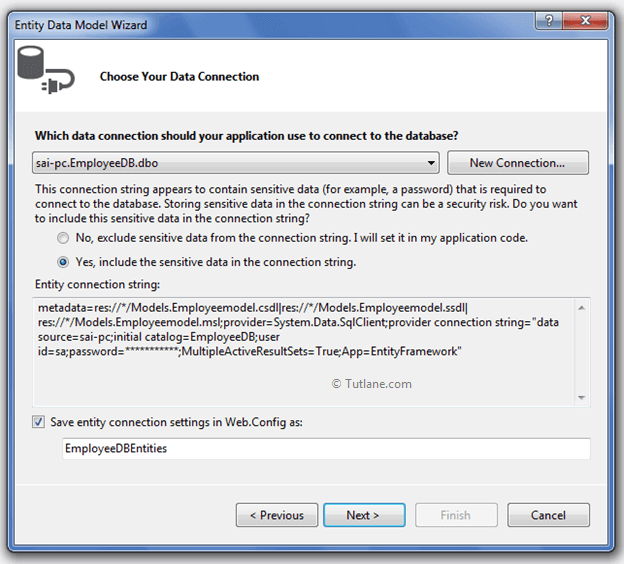
Now click on the Next button. A new wizard will pop up for selecting database objects, and in this, you will see all the tables we have created in the database.
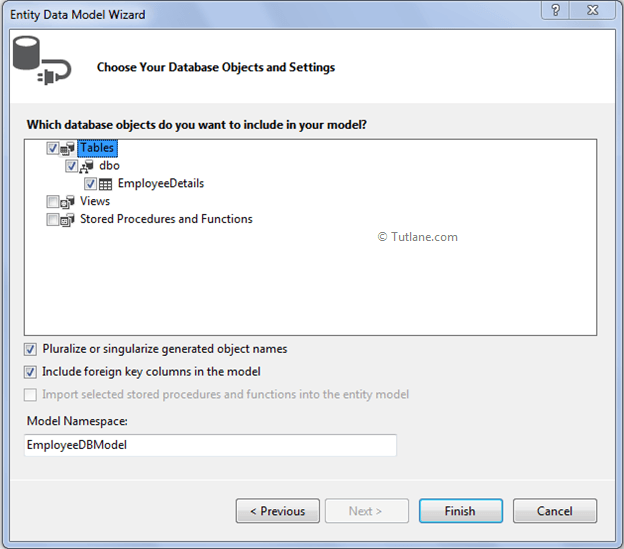
Finally, click on the Finish button. Here is a snapshot after adding ADO.NET Entity Data Model.
To add a new controller (RegisterController) in asp.net mvc application, right-click on the Controller folder inside that select Add and then select Controller.
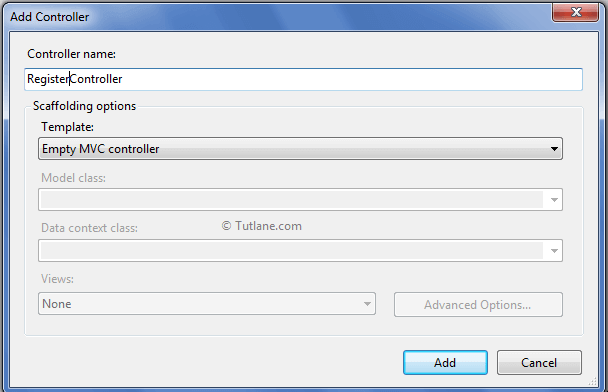
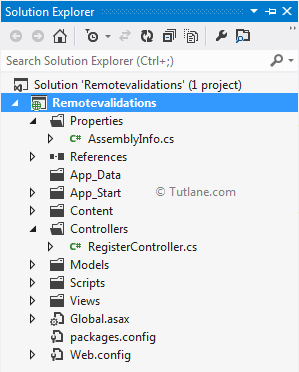
After adding RegisterController, our project will be like as shown below.
After adding Controller, some default code will be generated in RegisterController that will be like as shown below.
using System;
using System.Collections.Generic;
using System.Linq;
using System.Web;
using System.Web.Mvc;
using Remotevalidations.Models;
namespace Remotevalidations.Controllers
{
public class RegisterController : Controller
{
[HttpGet]
public ActionResult Index()
{
return View(new EmployeeDetail());
}
}
}
Now inside this Register controller, we will add another ActionResult with the name CheckUserNameExists to validate whether our user name exists or not in the database. The CheckUserNameExists method will take Username as input parameter and return JSON with the Boolean flag. Your Context class is EmployeeDBEntities, and the table name is EmployeeDetails.
public ActionResult CheckUserNameExists(string Username)
{
bool UserExists = false;
try
{
using (var dbcontext = new EmployeeDBEntities())
{
var nameexits = from temprec in dbcontext.EmployeeDetails
where temprec.Name.Equals(Username.Trim())
select temprec;
if (nameexits.Count() > 0)
{
UserExists = true;
}
else
{
UserExists = false;
}
}
return Json(!UserExists, JsonRequestBehavior.AllowGet);
}
catch (Exception)
{
return Json(false, JsonRequestBehavior.AllowGet);
}
}
Inside this Action method, we wrote a simple Linq query to check username which is coming as input to this action Method is already exists in the database or not. By checking the count of records, if a username exists, its count will be greater than zero, it will return true, or if not greater than zero, return false.
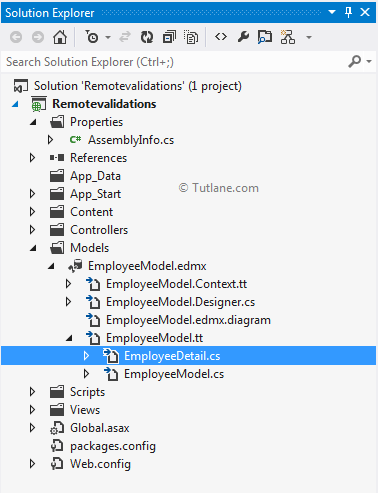
We have created the CheckUserNameExists Action method, and it’s time to call this method. To call this method, we need to add Attribute to Models Property, where we want to call this validate method. To find the Model, we need to dig into ADO.NET Entity Data Model (EmployeeModel.edmx) then into EmployeeModel.tt here you will see the table name or Model name EmployeeDetails.cs
Now clicking on EmployeeDetails.cs class, you will see code like below.
//------------------------------------------------------------------------------
// <auto-generated>
// This code was generated from a template.
//
// Manual changes to this file may cause unexpected behavior in your application.
// Manual changes to this file will be overwritten if the code is regenerated.
// </auto-generated>
//------------------------------------------------------------------------------
namespace Remotevalidations.Models
{
using System;
using System.Collections.Generic;
using System.ComponentModel.DataAnnotations;
using System.Web.Mvc;
public partial class EmployeeDetail
{
public int EmpID { get; set; }
public string UserName { get; set; }
public string Name { get; set; }
public string Address { get; set; }
public Nullable<int> Age { get; set; }
public Nullable<decimal> Salary { get; set; }
public string worktype { get; set; }
}
}
In this model class, we need to call validation on the Username property. For adding that Remote validation, we need to add this attribute to the property.
[Remote("Action name", "Controller", ErrorMessage = "Error Message")]
Here is the model after adding Remote validation action and Method Name will be CheckUserNameExists and Controller name "Register" as shown below.
public partial class EmployeeDetail
{
public int EmpID { get; set; }
[Remote("CheckUserNameExists", "Register", ErrorMessage = "UserName already exists!")]
public string UserName { get; set; }
public string Name { get; set; }
public string Address { get; set; }
public Nullable<int> Age { get; set; }
public Nullable<decimal> Salary { get; set; }
public string worktype { get; set; }
}
Now after completing with Model work now, let’s add a View.
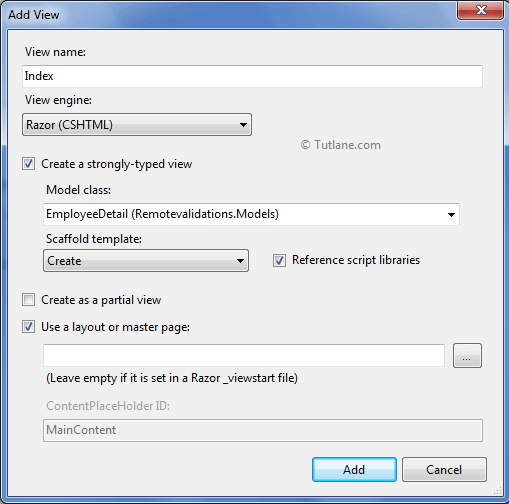
For Adding View, right-click inside Index ActionResult Method and Select "Add View" to create the view template for our Index form. Here in the below snapshot, we selected View engine as Razor, and we are going to create a strong type view for that we selected Model class EmployeeDetail. We want to create an input form so that we have selected Create in Scaffold template and finally click on the Add button.
After adding the view, here below is a complete View of Index.cshtml, which is generated.
@model Remotevalidations.Models.EmployeeDetail
@{
ViewBag.Title = "Index";
}
<h2>Index</h2>
@using (Html.BeginForm()) {
@Html.ValidationSummary(true)
<fieldset>
<legend>EmployeeDetail</legend>
<div class="editor-label">
@Html.LabelFor(model => model.EmpID)
</div>
<div class="editor-field">
@Html.TextBoxFor(model => model.EmpID)
@Html.ValidationMessageFor(model => model.EmpID)
</div>
<div class="editor-label">
@Html.LabelFor(model => model.UserName)
</div>
<div class="editor-field">
@Html.TextBoxFor(model => model.UserName)
@Html.ValidationMessageFor(model => model.UserName)
</div>
<div class="editor-label">
@Html.LabelFor(model => model.Name)
</div>
<div class="editor-field">
@Html.TextBoxFor(model => model.Name)
@Html.ValidationMessageFor(model => model.Name)
</div>
<div class="editor-label">
@Html.LabelFor(model => model.Address)
</div>
<div class="editor-field">
@Html.TextBoxFor(model => model.Address)
@Html.ValidationMessageFor(model => model.Address)
</div>
<div class="editor-label">
@Html.LabelFor(model => model.Age)
</div>
<div class="editor-field">
@Html.TextBoxFor(model => model.Age)
@Html.ValidationMessageFor(model => model.Age)
</div>
<div class="editor-label">
@Html.LabelFor(model => model.Salary)
</div>
<div class="editor-field">
@Html.TextBoxFor(model => model.Salary)
@Html.ValidationMessageFor(model => model.Salary)
</div>
<div class="editor-label">
@Html.LabelFor(model => model.worktype)
</div>
<div class="editor-field">
@Html.TextBoxFor(model => model.worktype)
@Html.ValidationMessageFor(model => model.worktype)
</div>
<p>
<input type="submit" value="Create"/>
</p>
</fieldset>
}
<div>
@Html.ActionLink("Back to List", "Index")
</div>
@section Scripts {
@Scripts.Render("~/bundles/jqueryval")
}
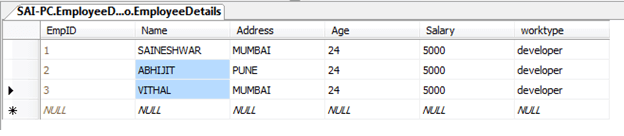
The following are the records that we have in our database table.
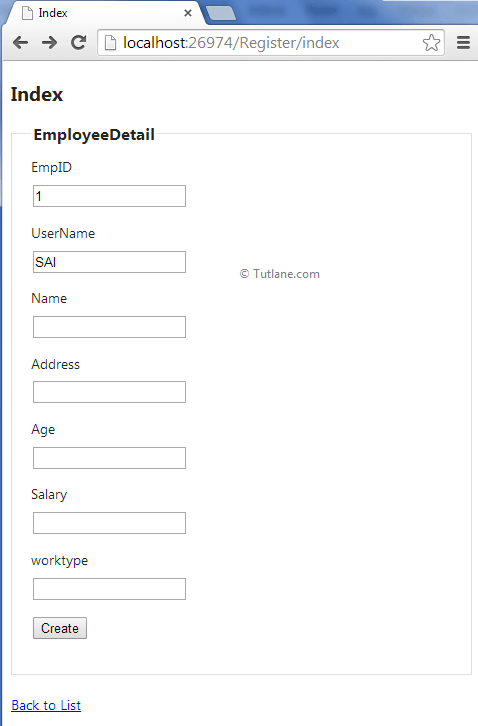
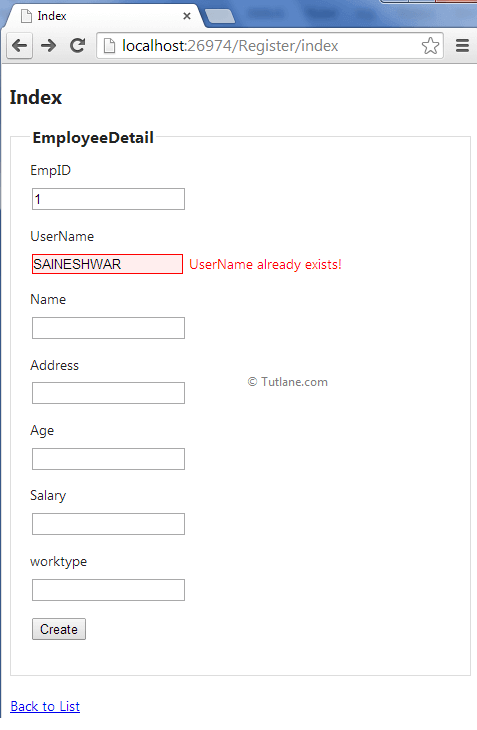
Now run the application and access the page by entering URL: - http://localhost:#####/Register/index. In case if UserName exists in the database following is the output of the asp.net mvc remote validations example.
In case if UserName does not exist in the database, the following is the output of the asp.net mvc remote validations example.