Here we learn iOS UI search bar in swift with example and how to use the iOS search bar in UI table view to search items in the collection with example in swift applications.
In iOS search bar is used to search items in the collection. Basically the search bar in iOS will provide textbox with search and cancel buttons interface and it will allow users to search for required data from collection items based on the text entered in a textbox.
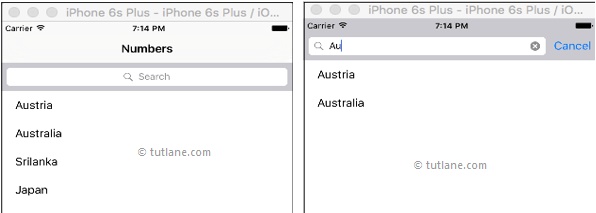
Generally, if we use the iOS search bar in swift applications that will be like as shown below.
We can use the search bar in our iOS applications by adding UISearchBar class reference. Now we will see how to use the iOS UI search bar in swift applications to search for collection items in table view with example.
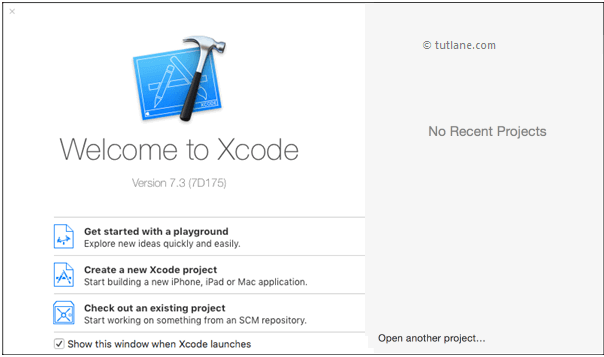
To create a new project in iOS open Xcode from /Applications folder directory. Once we open Xcode the welcome window will open like as shown below. In the welcome window click on the second option “Create a new Xcode Project” or choose File à New à Project.
After selecting “Create a new Xcode project” a new window will open in that we need to choose a template.
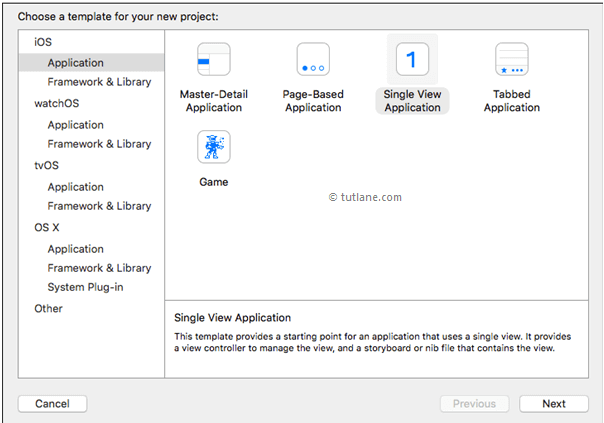
The new Xcode window will contain several built-in app templates to implement the common types of iOS apps like page-based apps, tab-based apps, games, table-view apps, etc. These templates are having a pre-configured interface and source code files.
For this iOS Search Bar example, we will use the most basic template “Single View Application”. To select this one, Go to the iOS section on the left side à select Application à In the main area of dialog select “Single View Application” and then click on the next button like as shown below.
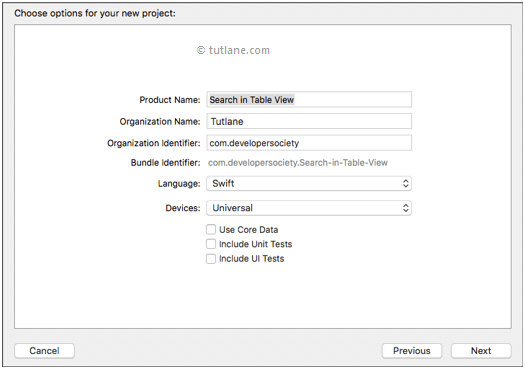
After click Next we will get a window like as shown below. In this, we need to mention the project name and other details for our application.
Product Name: “Search in Table View”
The name whatever we enter in the Product Name section will be used for the project and app.
Organization Name: “Tutlane”
You can enter the name of your organization or your own name or you can leave it as blank.
Organization Identifier: “com.developersociety”
Enter your organization identifier in case if you don't have any organization identifier enter com.example.
Bundle Identifier: This value will generate automatically based on the values we entered in the Product Name and Organization Identifier.
Language: “Swift”
Select language type as “Swift” because we are going to develop applications using swift.
Devices: “Universal”
Choose Devices options as Universal it means that one application is for all Apple devices in case if you have any specific requirement to run an app only for iPad then you can choose the iPad option to make your application restricted to run only on iPad devices.
Use Core Data: Unselected
This option is used for database operations. In case if you have any database related operations in your application select this option otherwise unselect the option.
Include Unit Tests: Unselected
In case if you need unit tests for your application then select this option otherwise unselect it.
Include UI Tests: Unselected
In case if you need UI tests for your application then select this option otherwise unselect it.
Once you finished entering all the options then click on the Next button like as shown below.
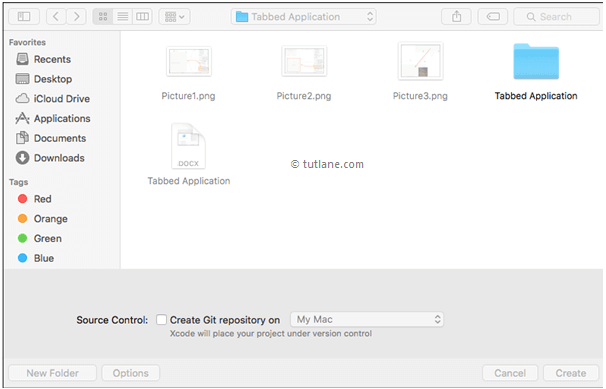
Once we click on the Next button new dialog will open in that we need to select the location to save our project. Once you select the location to save the project then click on Create button like as shown below
After clicking on the Create button, the Xcode will create and open a new project. In our project, Main.storyboard and ViewController.swift are the main files that we used to design the app user interface and to maintain source code.
Main.storyboard - Its visual interface editor and we will use this file to design our app user interface
ViewController.swift - It contains the source code of our application and we use this file to write any code related to our app.
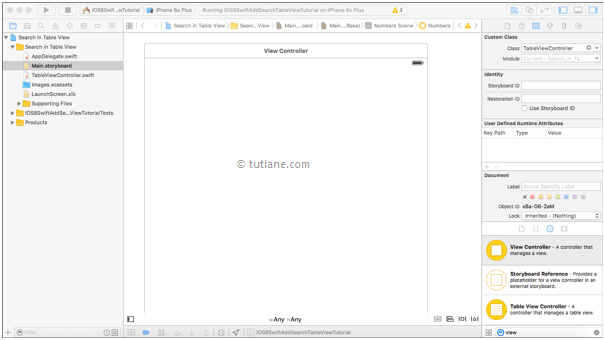
Now in project select Main.storyboard file, the Xcode will open visual interface editor like as shown below.
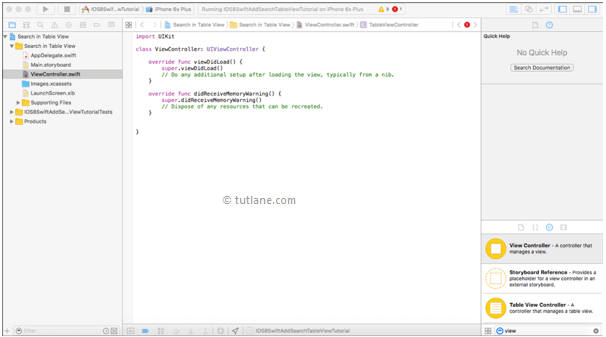
Now select ViewController.swift file in your project that view will be like as shown below.
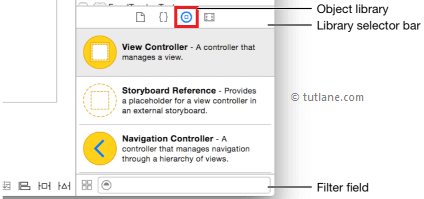
Now we will add controls to our application for that open Object Library. The Object Library will appear at the bottom of Xcode on the right side. In case if you don't find Object library, click on the button which is in the third position from the left in the library selector bar like as shown below. (Alternatively, you can choose View à Utilities à Show Object Library.)
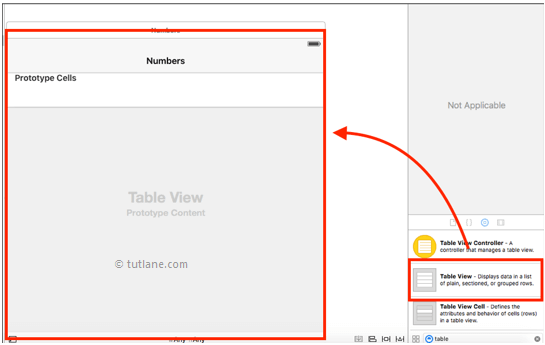
As we discussed our user interface will be in Main.storyboard file so open Main.storyboard file. Now in Object library search for the Table View in Filter field then drag and drop the Table View into Main.storyboard ViewController like as shown below same way add another View Controller in our Main.storyboard file.
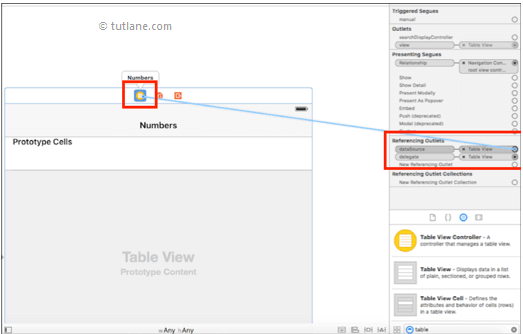
Now connect ViewController to Data Source and Delegate like as shown below
Once we did all the settings we need to write custom code to search for items using the search bar. Our ViewController.swift file should contain code like as shown below
import UIKit
class TableViewController: UITableViewController, UISearchResultsUpdating {
let tableData = ["Austria","Australia","Srilanka","Japan"]
var filteredTableData = [String]()
var resultSearchController = UISearchController()
override func viewDidLoad() {
super.viewDidLoad()
self.resultSearchController = ({
let controller = UISearchController(searchResultsController: nil)
controller.searchResultsUpdater = self
controller.dimsBackgroundDuringPresentation = false
controller.searchBar.sizeToFit()
self.tableView.tableHeaderView = controller.searchBar
return controller
})()
// Reload the table
self.tableView.reloadData()
}
override func didReceiveMemoryWarning() {
super.didReceiveMemoryWarning()
// Dispose of any resources that can be recreated.
}
override func numberOfSectionsInTableView(tableView: UITableView) -> Int {
return 1
}
override func tableView(tableView: UITableView, numberOfRowsInSection section: Int) -> Int {
if (self.resultSearchController.active) {
return self.filteredTableData.count
}
else {
return self.tableData.count
}
}
overridefunc tableView(tableView: UITableView, cellForRowAtIndexPath indexPath: NSIndexPath) -> UITableViewCell {
let cell = tableView.dequeueReusableCellWithIdentifier("Cell", forIndexPath: indexPath) as! UITableViewCell
if (self.resultSearchController.active) {
cell.textLabel?.text = filteredTableData[indexPath.row]
return cell
}
else {
cell.textLabel?.text = tableData[indexPath.row]
return cell
}
}
func updateSearchResultsForSearchController(searchController: UISearchController)
{
filteredTableData.removeAll(keepCapacity: false)
let searchPredicate = NSPredicate(format: "SELF CONTAINS[c] %@", searchController.searchBar.text!)
let array = (tableDataasNSArray).filteredArrayUsingPredicate(searchPredicate)
filteredTableData = array as! [String]
self.tableView.reloadData()
}
}
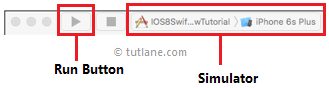
Now we will run and check the output of application. To run application, select the required simulator (Here we selected iPhone 6s Plus) and click on Play button, located at the top-left corner of the Xcode toolbar like as shown below.
Following is the result of the iOS search bar application in swift. Now see that in top of the table view we have a search bar in that enter text to get matching results like as shown below.
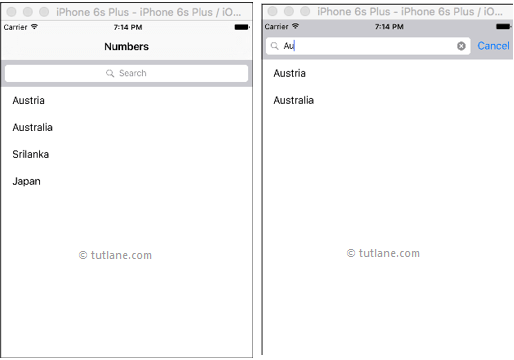
This is how we can use the iOS search bar in table view to search for collection items in the swift application based on our requirements.