Here we will learn iOS UI labels in swift with example and how to use UI control labels in iOS applications to show content as plained text or styled text in swift with an example using Xcode.
Label in iOS is a basic UI control that is used to display plain static text or styled text. The content in iOS label control is a read-only text we cannot able change or edit the text but we can copy the content of label.
We can apply custom styles to the content in iOS label control like changing the font style, font size, adding background colors, etc. based on our requirements like as shown below.
Now we will see how to use labels in iOS application with example.
To create a new project in iOS Xcode open Xcode from /Applications folder directory. Once we open Xcode the welcome window will open like as shown below. In the welcome window click on the second option “Create a new Xcode Project” or choose File à New à Project.
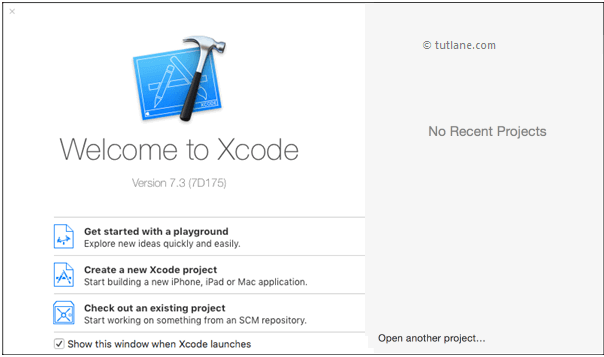
After selecting “Create a new Xcode project” a new window will open in that we need to choose a template.
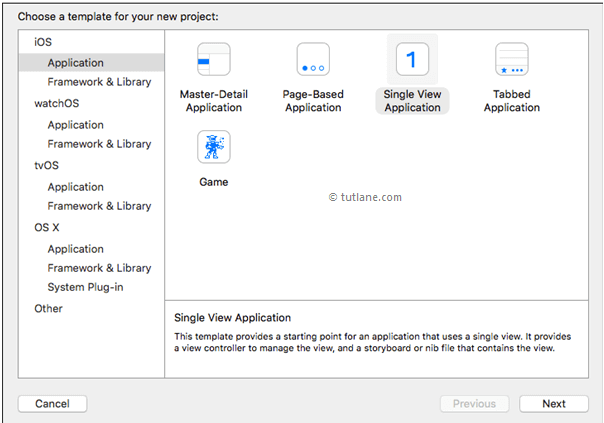
The new Xcode window will contain several built-in app templates to implement common types of iOS apps like page-based apps, tab-based apps, games, table-view apps, etc. These templates are having a pre-configured interface and source code files.
For this iOS labels example, we will use the most basic template “Single View Application”. To select this one, Go to the iOS section on left side à select Application à In the main area of dialog select “Single View Application” and then click on the next button like as shown below.
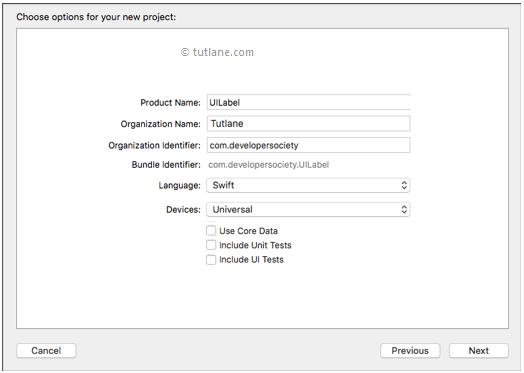
After click Next we will get a window like as shown below in this, we need to mention project name and other details for our application.
Product Name: “UILabel”
The name whatever we enter in Product Name section will be used for the project and app.
Organization Name: “Tutlane”
You can enter the name of your organization or your own name or you can leave it as blank.
Organization Identifier: “com.developersociety”
Enter your organization identifier in case if you don't have any organization identifier enter com.example.
Bundle Identifier: This value will generate automatically based on the values we entered in Product Name and Organization Identifier.
Language: “Swift”
Select language type as “Swift” because we are going to develop applications using swift.
Devices: “Universal”
Choose Devices options as Universal it means that one application is for all Apple devices in case if you have any specific requirement to run an app only for iPad then you can choose the iPad option to make your application restricted to run only on iPad devices.
Use Core Data: Unselected
This option is used for database operations. In case if you have any database related operations in your application select this option otherwise unselect the option.
Include Unit Tests: Unselected
In case if you need unit tests for your application then select this option otherwise unselect it.
Include UI Tests: Unselected
In case if you need UI tests for your application then select this option otherwise unselect it.
Once you finished entering all the options then click on Next button like as shown below
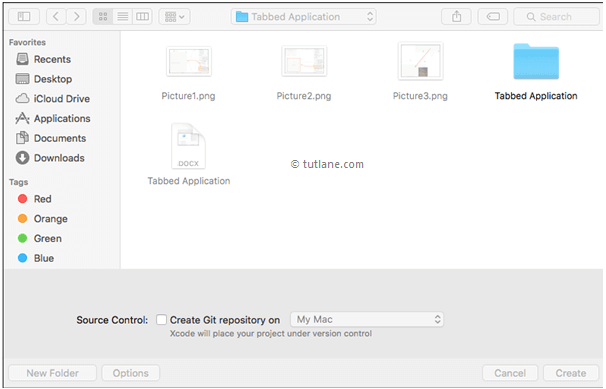
Once we click on Next button new dialog will open in that we need to select the location to save our project. Once you select the location to save project then click on Create button like as shown below
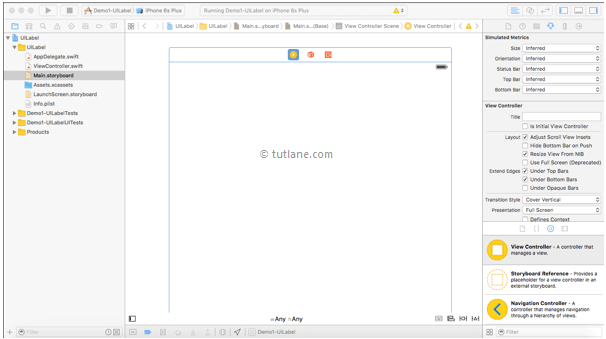
After clicking on Create button the Xcode will create and open a new project. In our project Main.storyboard and ViewController.swift are the main files that we used to design app user interface and to maintain source code.
Main.storyboard - Its visual interface editor and we will use this file to design our app user interface
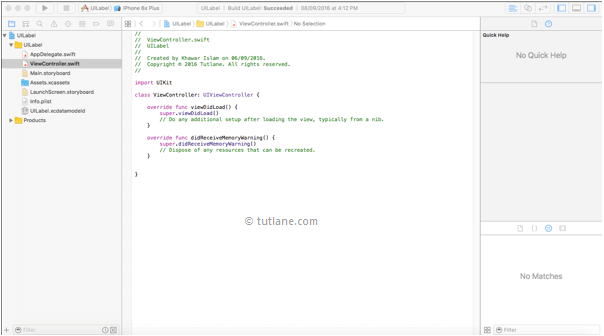
ViewController.swift - It contains the source code of our application and we use this file to write any code related to our app.
Now in project select Main.storyboard file the Xcode will open visual interface editor like as shown below.
Now select ViewController.swift file in your project that view will be like as shown below.
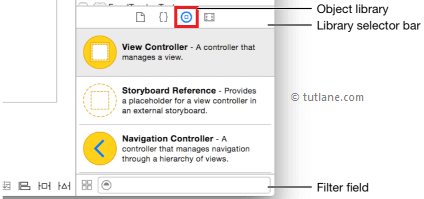
Now we will add controls to our application for that open Object Library. The Object Library will appear at the bottom of Xcode in right side. In case if you don't find Object library, click on the button which is in the third position from the left in the library selector bar like as shown below. (Alternatively, you can choose View à Utilities à Show Object Library).
As we discussed our user interface will be in Main.storyboard file so open Main.storyboard file. Now in Object library search for the label in Filter field then drag and drop into Main.storyboard ViewController like as shown below and edit label control based on your requirement.
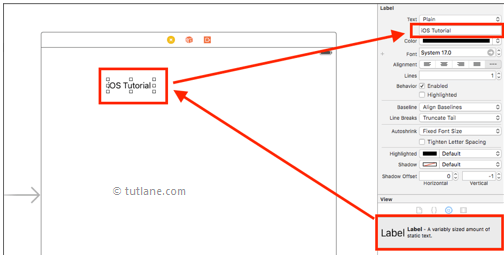
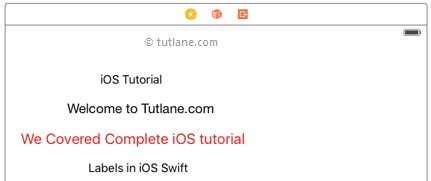
Same way drag multiple labels from Object Library and make changes to labels based on your requirement like as shown below
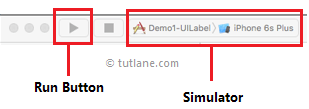
Now we will run and see the output of the iOS Delegates application. To run the application first, select the required simulator (Here we selected iPhone 6s Plus) and click on the Play button, located at the top-left corner of the Xcode toolbar like as shown below.
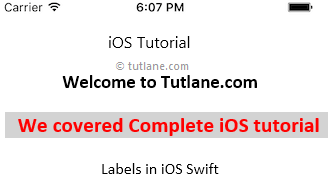
The result of iOS labels application will be like as shown below
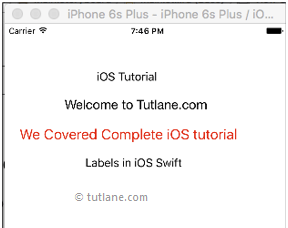
This is how we can use iOS UI label controls to show the static or dynamic content based on our requirements.