Here we will learn how to create ios hello world app in swift using Xcode or first ios hello world example using swift, how to use simulator in ios, how to create and execute ios app using Xcode with example.
The first and basic program of all programming languages is you know well that is the Hello World program. Now we will see how to create ios hello world app in swift using Xcode.
To create new project in iOS Xcode open Xcode from /Applications folder directory. Once we open Xcode the welcome window will open like as shown below. In welcome window click on the second option “Create a new Xcode Project” or choose File à New à Project.
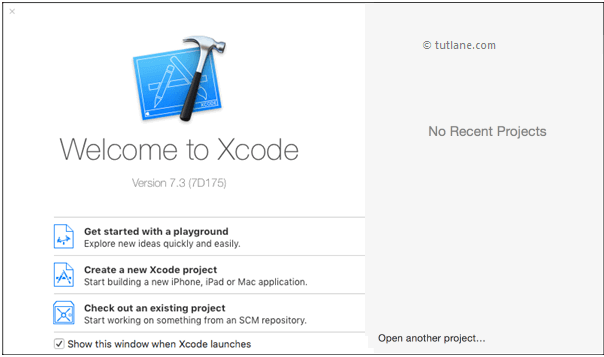
After selecting “Create a new Xcode project” a new window will open in that we need to choose template.
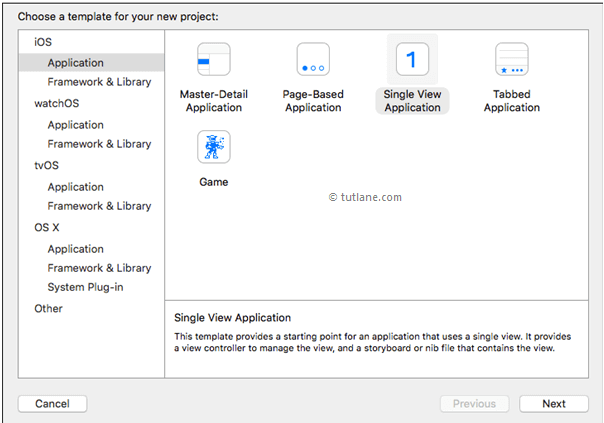
The new Xcode window will contain several built-in app templates to implement the common type of iOS apps like page-based apps, tab-based apps, games, table-view apps, etc. These templates are having a pre-configured interface and source code files.
For this iOS hello world example, we will use the most basic template “Single View Application”. To select this one, Go to the iOS section on the left side à select Application à In the main area of dialog select “Single View Application” and then click on next button like as shown below.
After click Next we will get a window like as shown below, In this, we need to mention the project name and other details for our application.
Product Name: “Hello World”
The name whatever we enter in Product Name section will be used for the project and app.
Organization Name: “Tutlane”
You can enter the name of your organization or your own name or you can leave it as blank.
Organization Identifier: “com.developersociety”
Enter your organization identifier in case if you don't have any organization identifier enter com.example.
Bundle Identifier: This value will generate automatically based on the values we entered in Product Name and Organization Identifier.
Language: “Swift”
Select language type as “Swift” because we are going to develop applications using swift.
Devices: “Universal”
Choose Devices options as Universal it means that one application is for all Apple devices in case if you have any specific requirement to run an app only for iPad then you can choose the iPad option to make your application restricted to run only on iPad devices.
Use Core Data: Unselected
This option is used for database operations. In case if you have any database related operations in your application select this option otherwise unselect the option.
Include Unit Tests: Unselected
In case if you need unit tests for your application then select this option otherwise unselect it.
Include UI Tests: Unselected
In case if you need UI tests for your application then select this option otherwise unselect it.
Once you finished entering all the options then click on Next button like as shown below

Once we click on the Next button new dialog will open in that we need to select the location to save our project. Once you select the location to save the project then click on Create button like as shown below
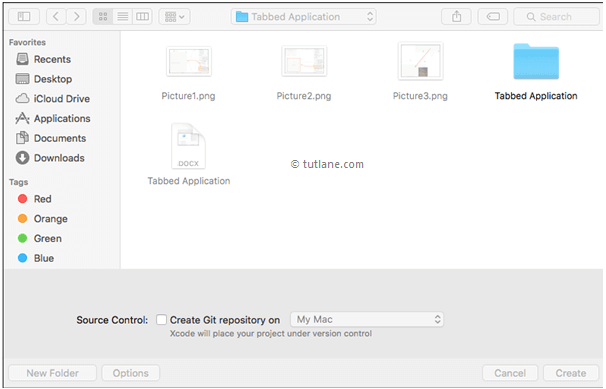
After click on Create button the Xcode will create and open a new project. By default, our project structure will be like as shown below

The Xcode provides all the things like interfaces for designing applications, editors for writing the code, debuggers to debug the code and different options to build and run our applications.
The following are the main areas in Xcode which we use most frequently to design, code, build and run our applications. You don’t need to worry about these sections we will learn each section in a detailed manner whenever we are using it in our applications.
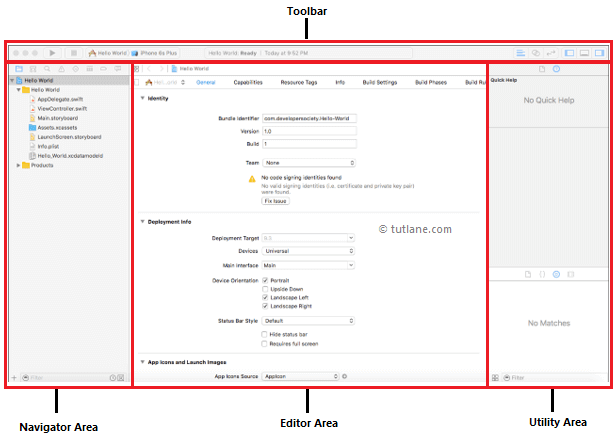
In our project, Main.storyboard and ViewController.swift are the main files that we used to design the app user interface and to maintain source code.
Main.storyboard - Its visual interface editor and we will use this file to design our app user interface
ViewController.swift - It contains the source code of our application and we use this file to write any code related to our app.
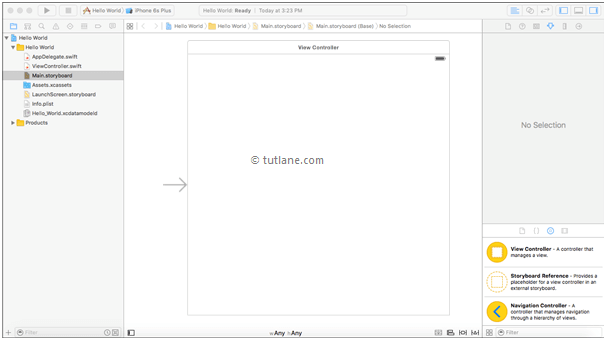
Now in project select Main.storyboard file, the Xcode will open visual interface editor like as shown below.
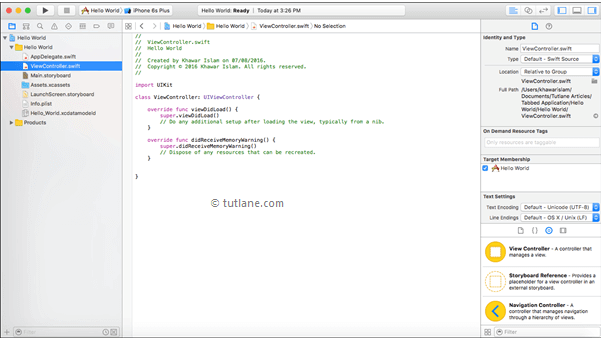
Now select ViewController.swift file in your project that view will be like as shown below.
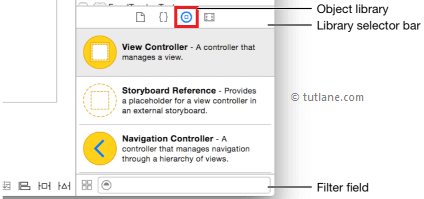
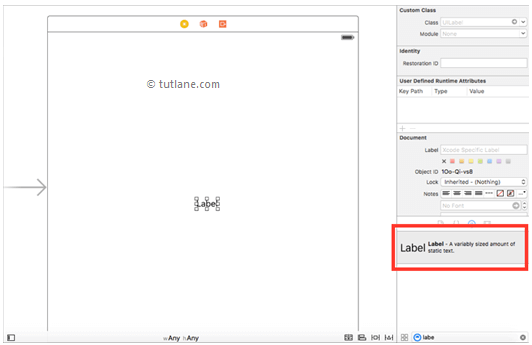
Now we will add controls to our application for that open Object Library. The Object Library will appear at the bottom of Xcode in right side. In case if you don't find Object library, click on the button which is in the third position from the left in the library selector bar like as shown below. (Alternatively, you can choose View à Utilities à Show Object Library).
As we discussed our user interface will be in Main.storyboard file so open Main.storyboard file. Now in Object library search for the label in Filter filed then drag and drop the label into Main.storyboard ViewController like as shown below
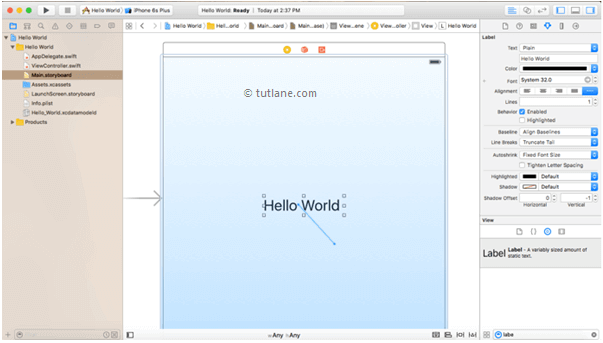
Now we will change the text of the label for that click on the label in the right side the label properties will open in Text property textbox write the “Hello World”. Once we change the label text now we will change the position of label control for that select label control à Click on label control and just drag the label control like as shown below.
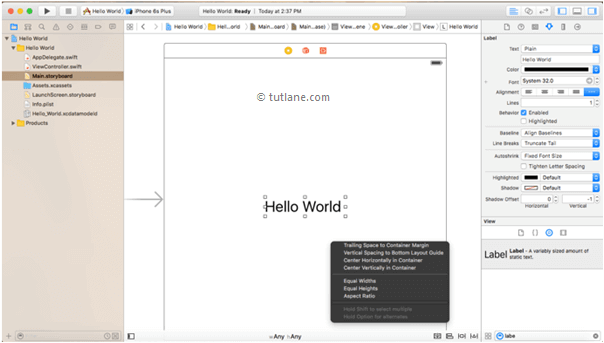
Once we click and drag the label control we can able to see multiple properties like “Center Horizontally in Container”, “Center Vertically in Container”, etc. like as shown below
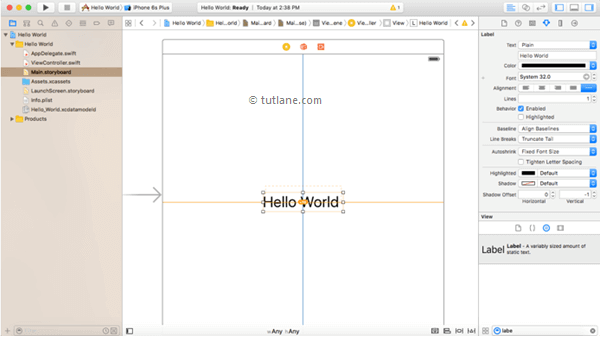
We will set “Center Horizontally in Container”, “Center Vertically in Container” properties for label control to make our label appeared in a centered position. Once we set these two properties we can able to see two lines which appear like a cross on our hello world label like as shown below
Now we will run and check the output of our ios hello world app for that we need to use the simulator.
To build and run our application we use Simulator in Xcode. The Simulator will help us to know how our app will look and behave if it is running on the device.
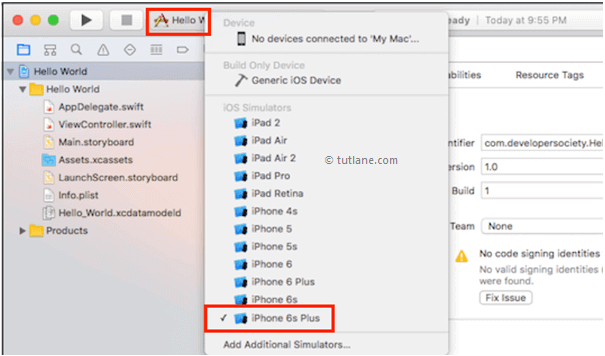
The Simulator in Xcode is having different device options to check our app in multiple devices like iPad, iPhone with different screen sizes. By using these options, we can simulate our app in any device and test its design and behavior based on our requirements.
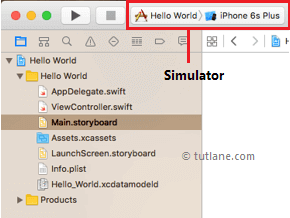
Now select your simulator from Xcode Toolbar based on our requirements. Here we are selecting iPhone 6s Plus that will be like as shown below.
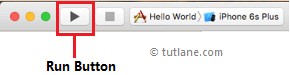
Once we select the required simulator then we will run our application by using the Run button, located in the top-left corner of the Xcode toolbar like as shown below
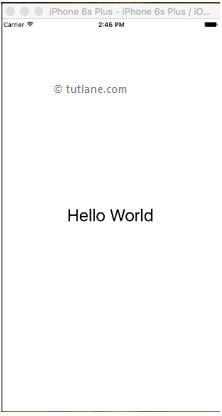
Once we run the iOS hello world application we will get output like as shown below